


Continental IV-1430
Restored by Graham White
|
|
|
|
|
|
|
|
|
|
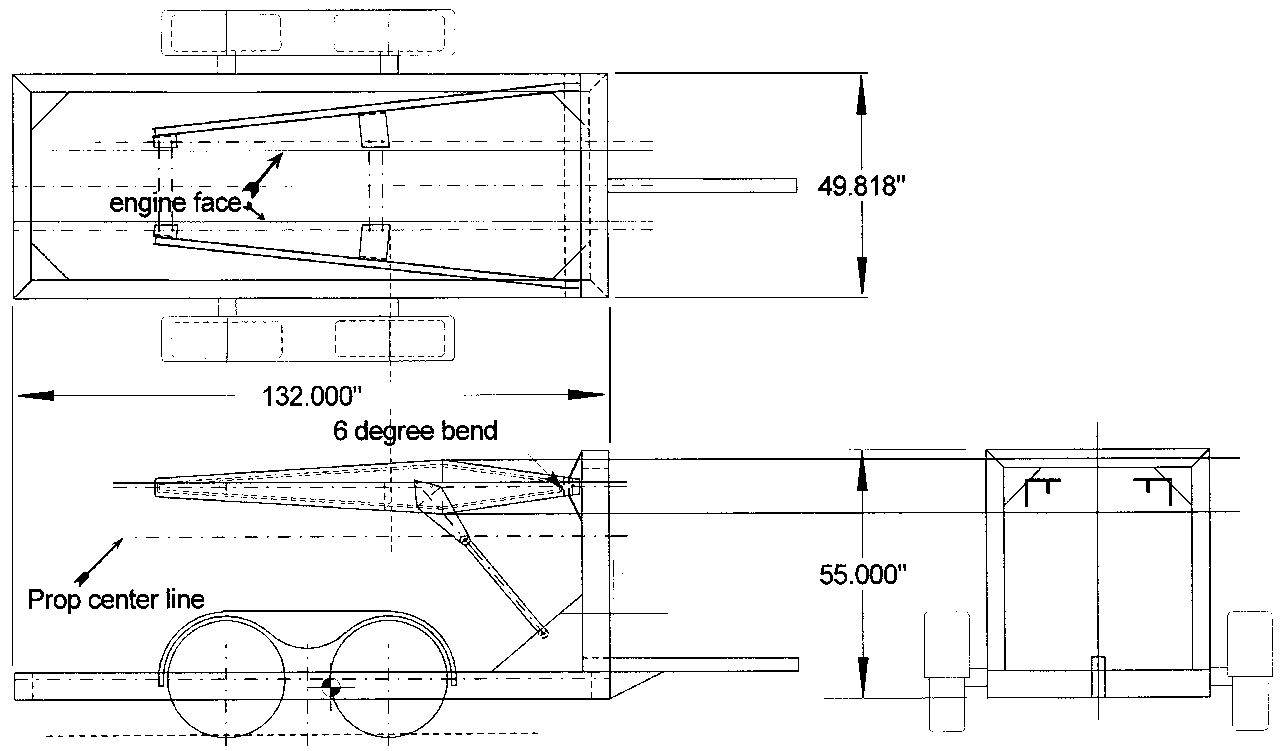
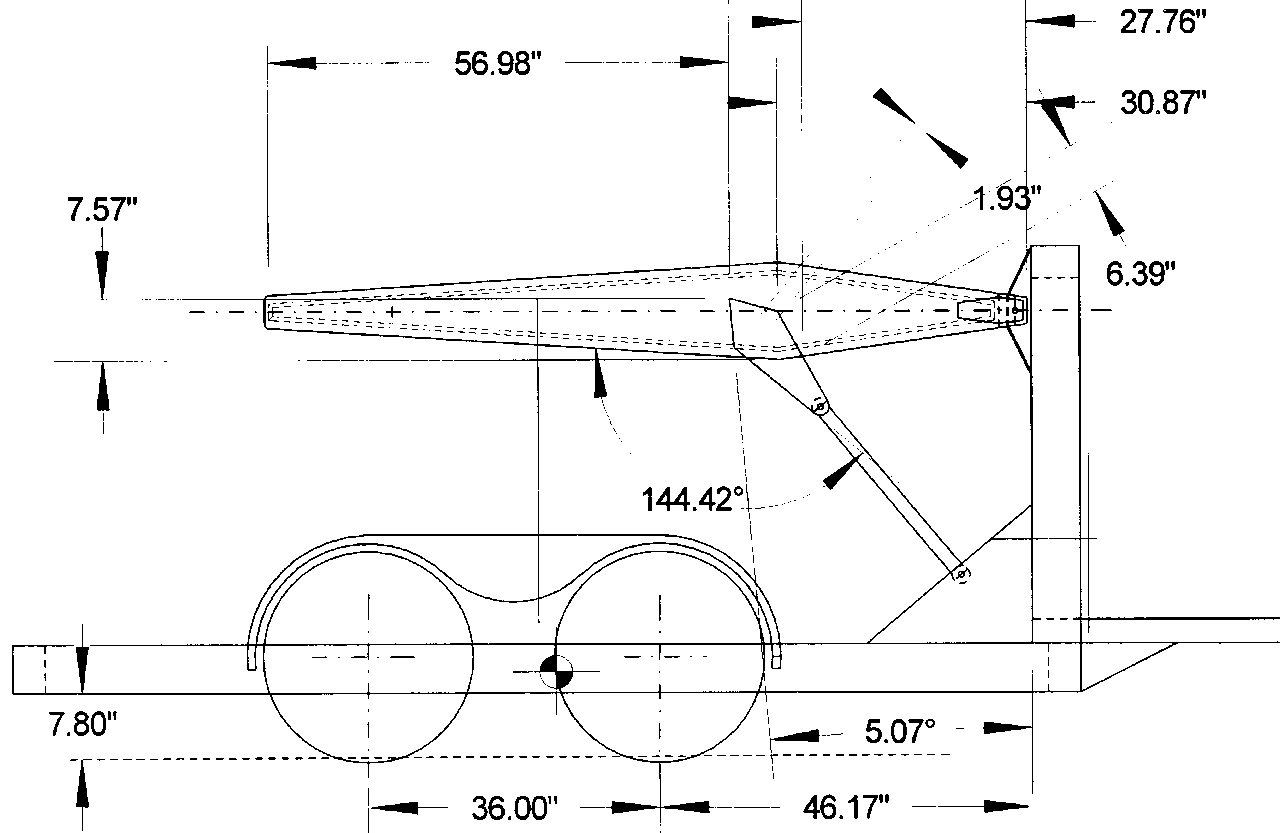
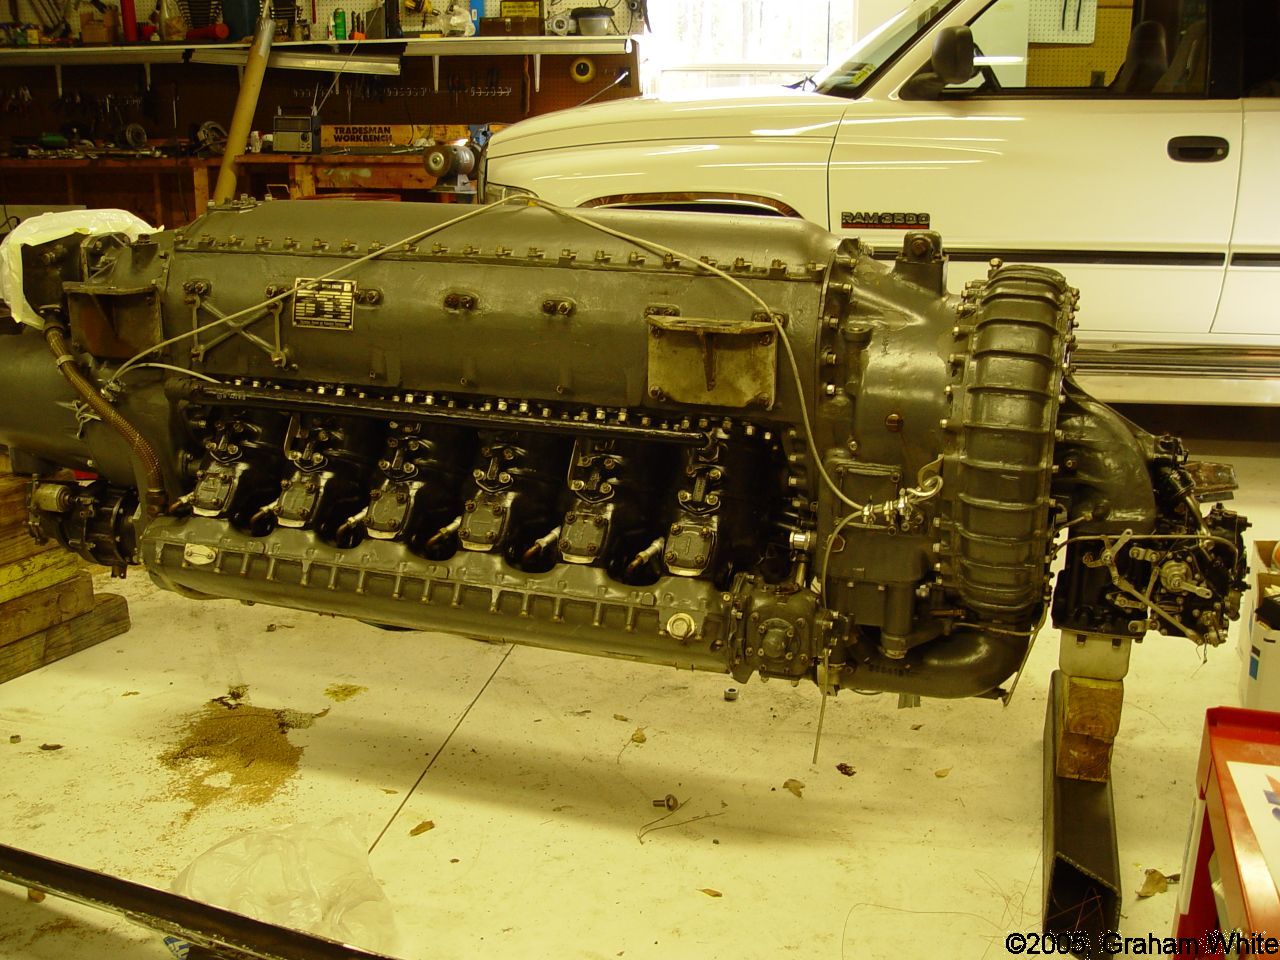
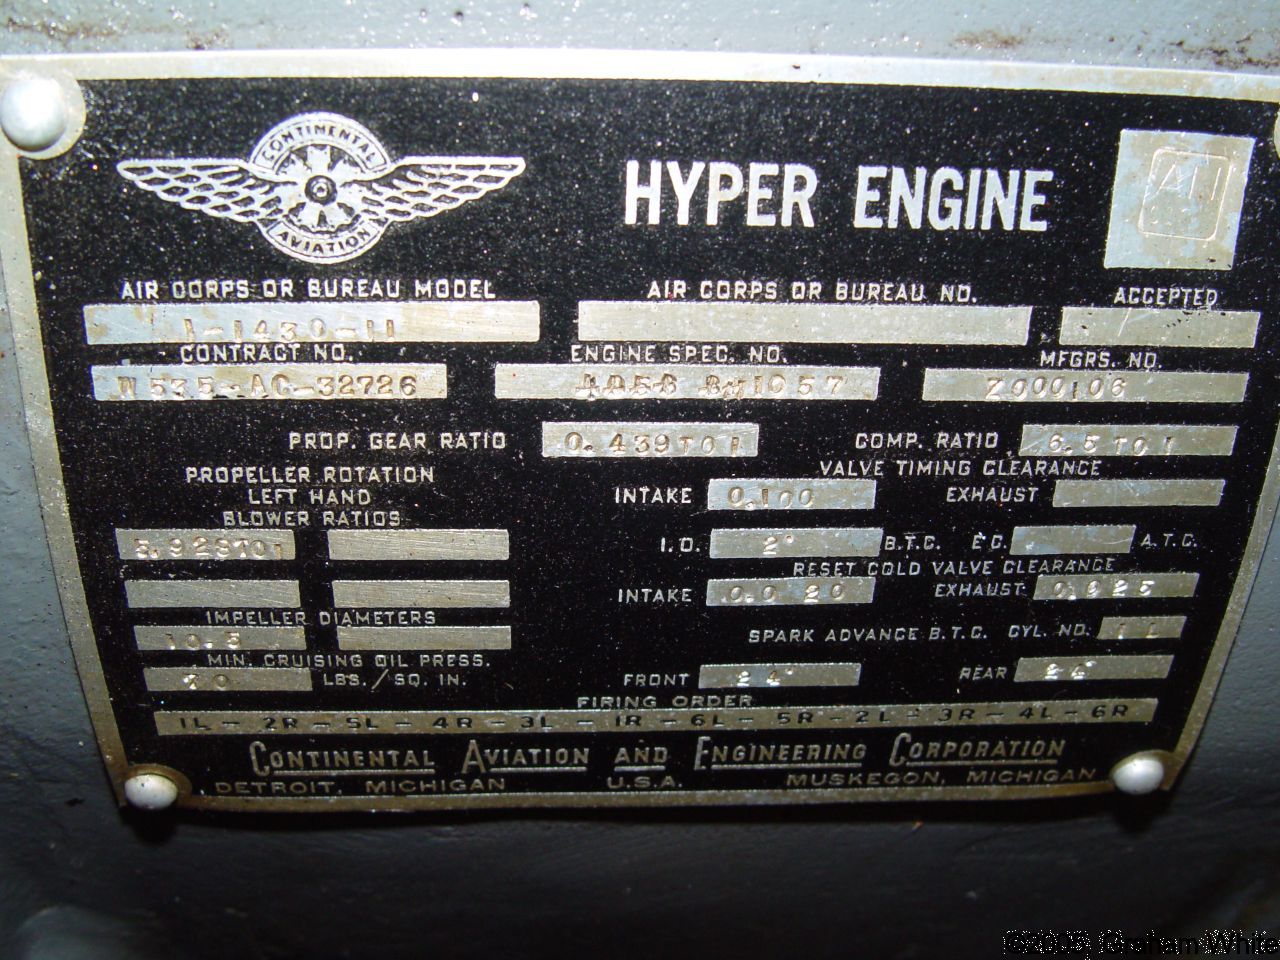
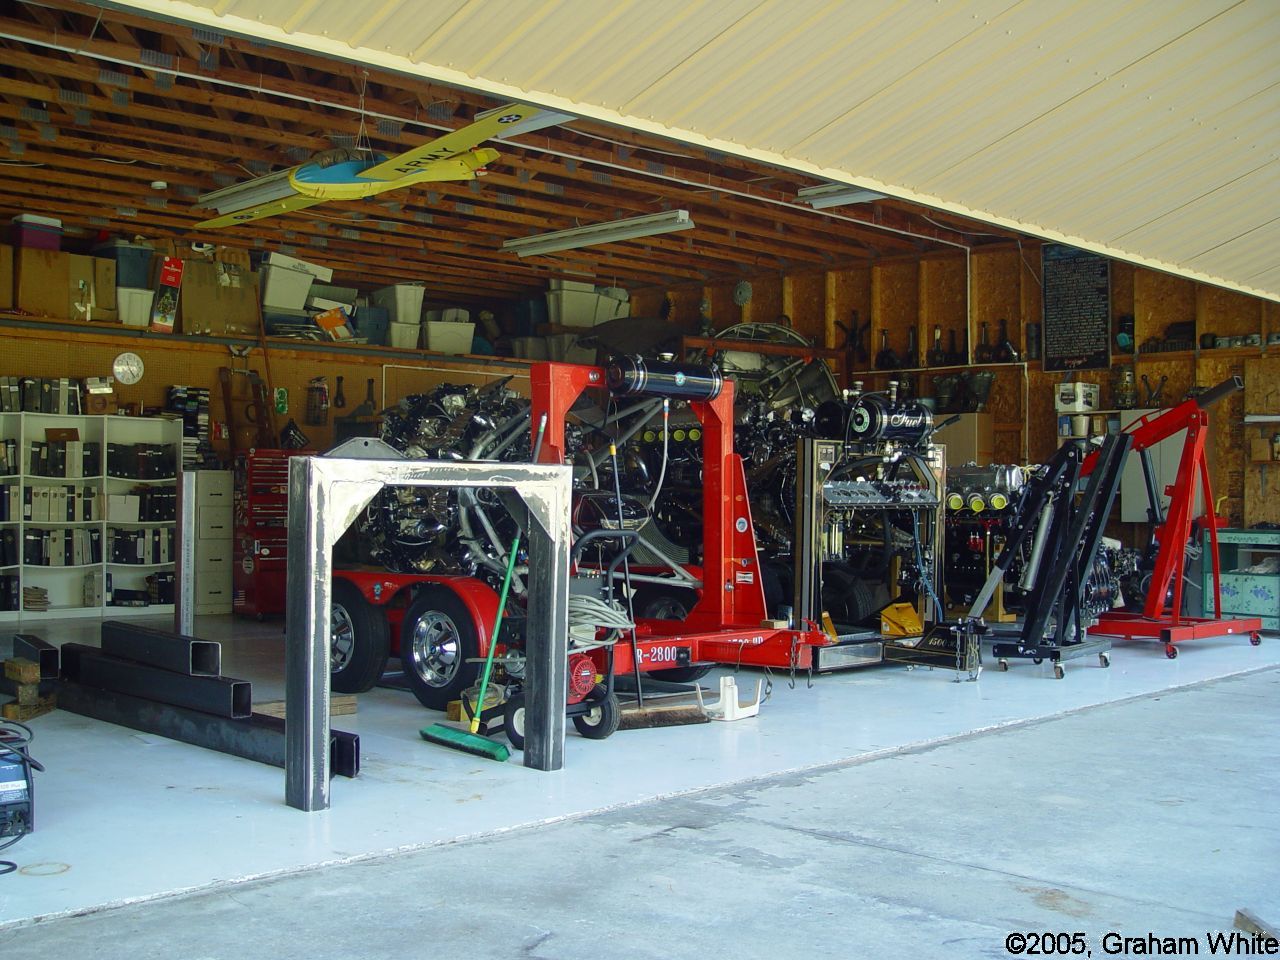
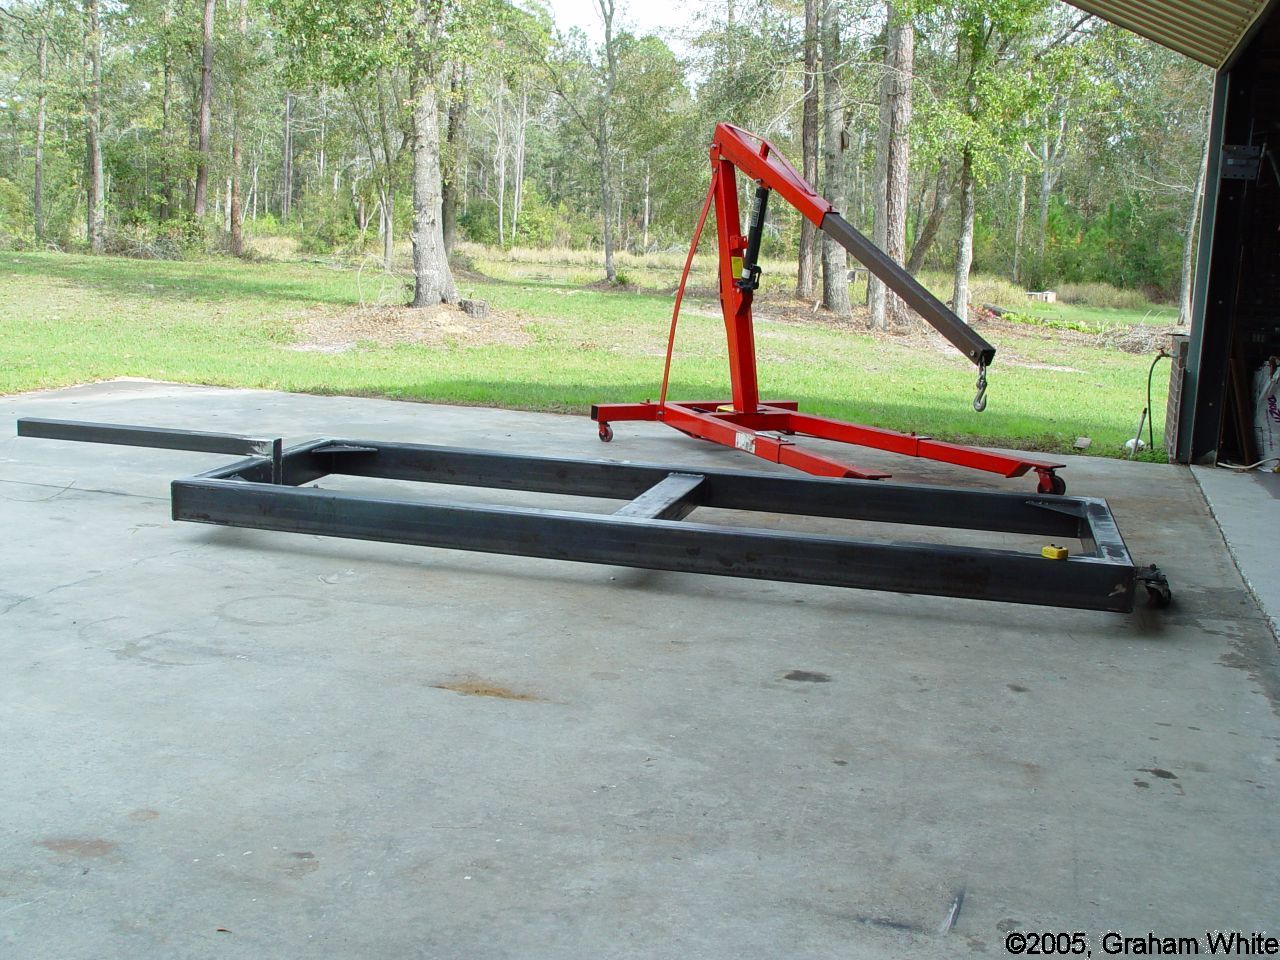
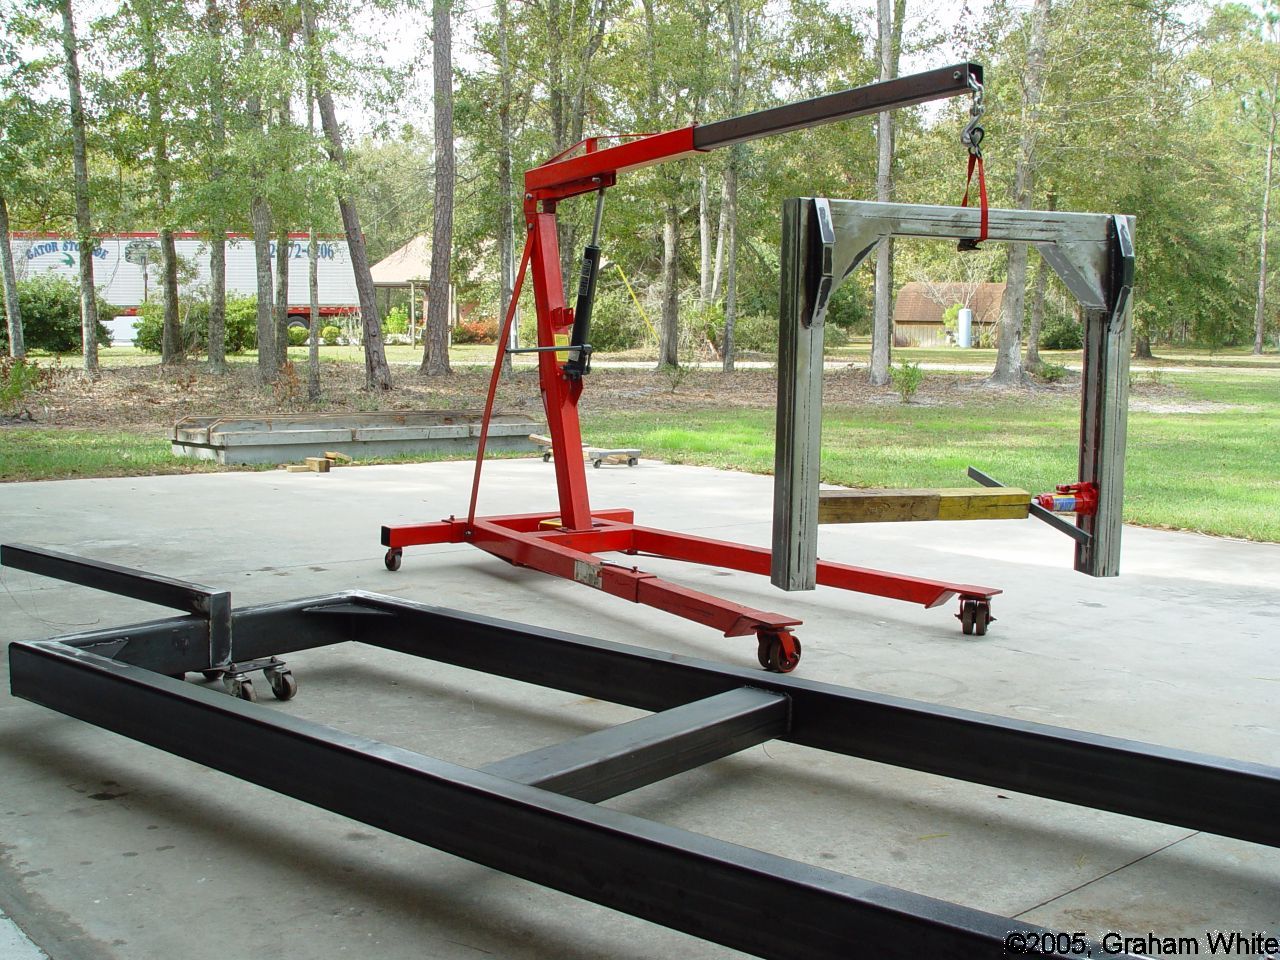
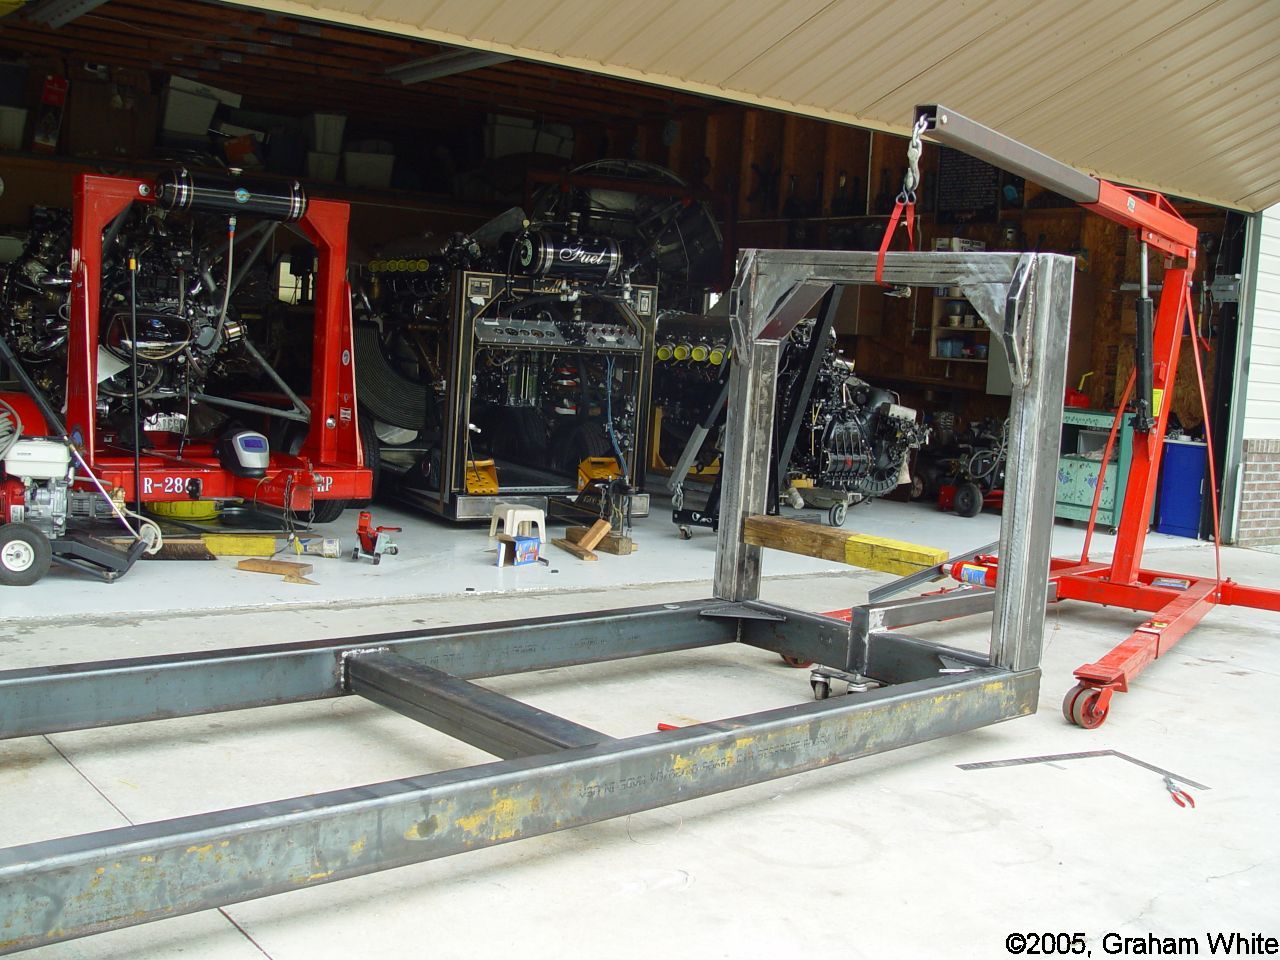
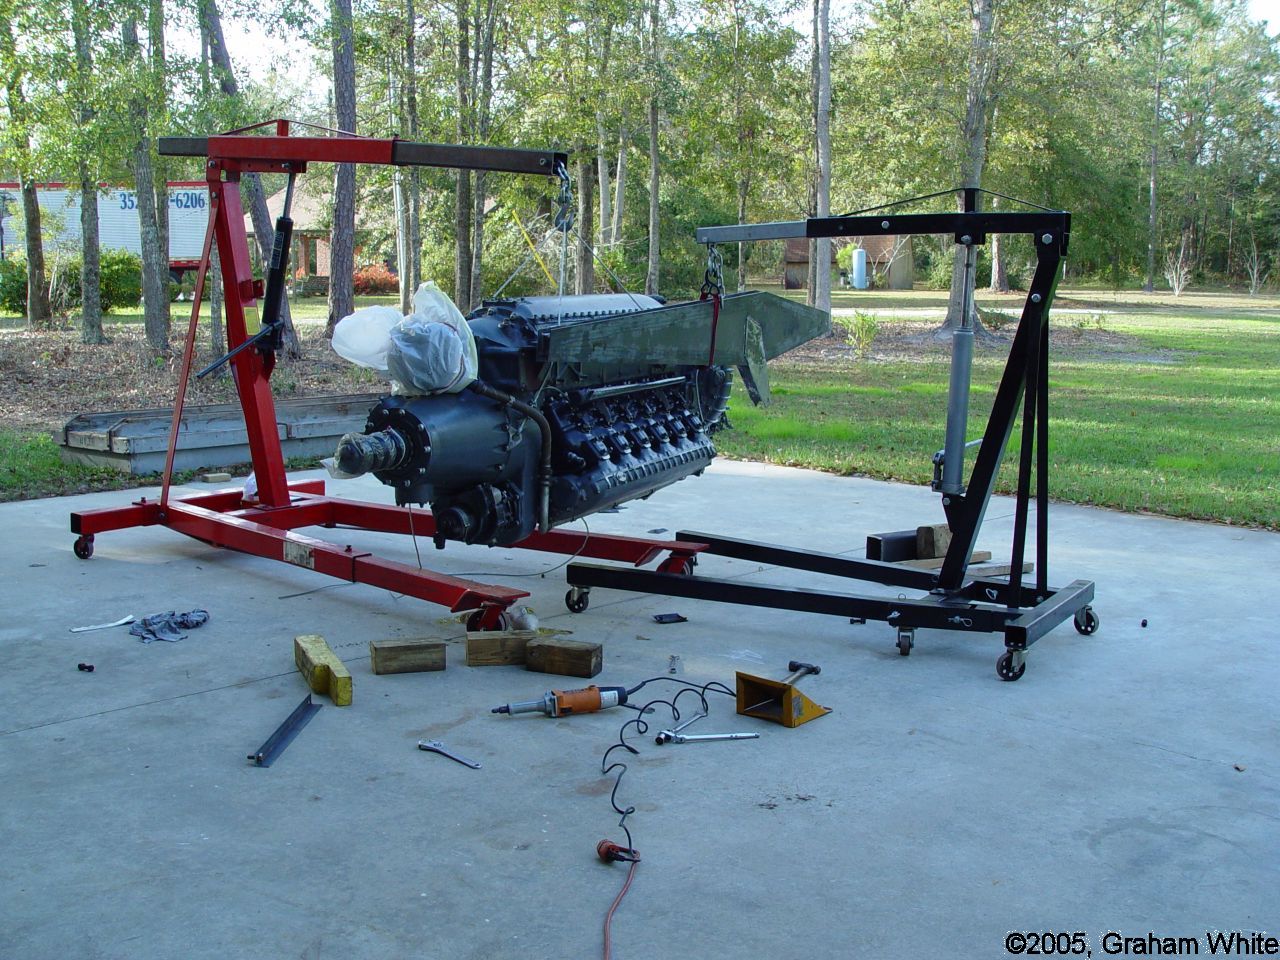
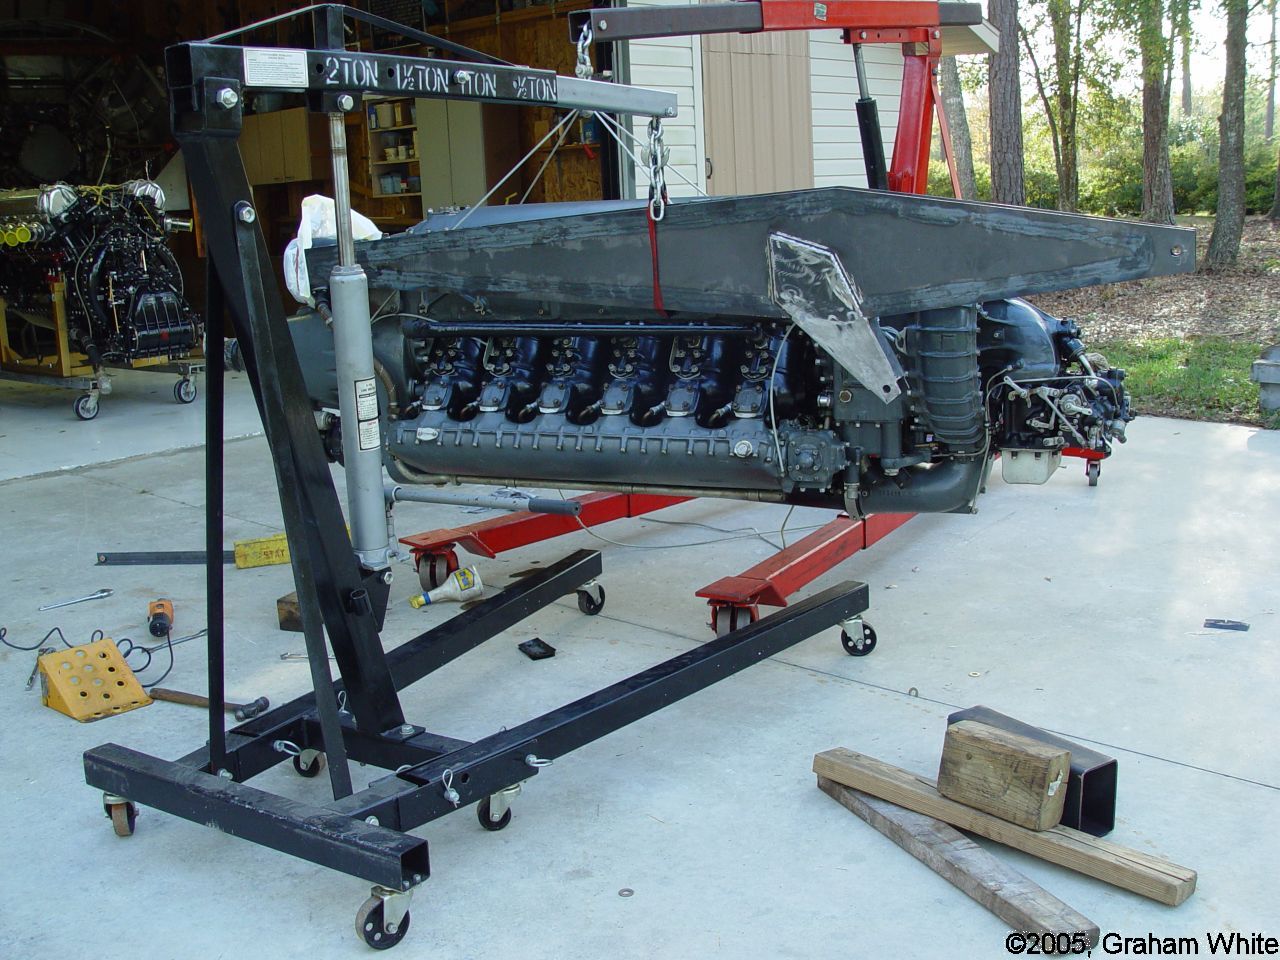
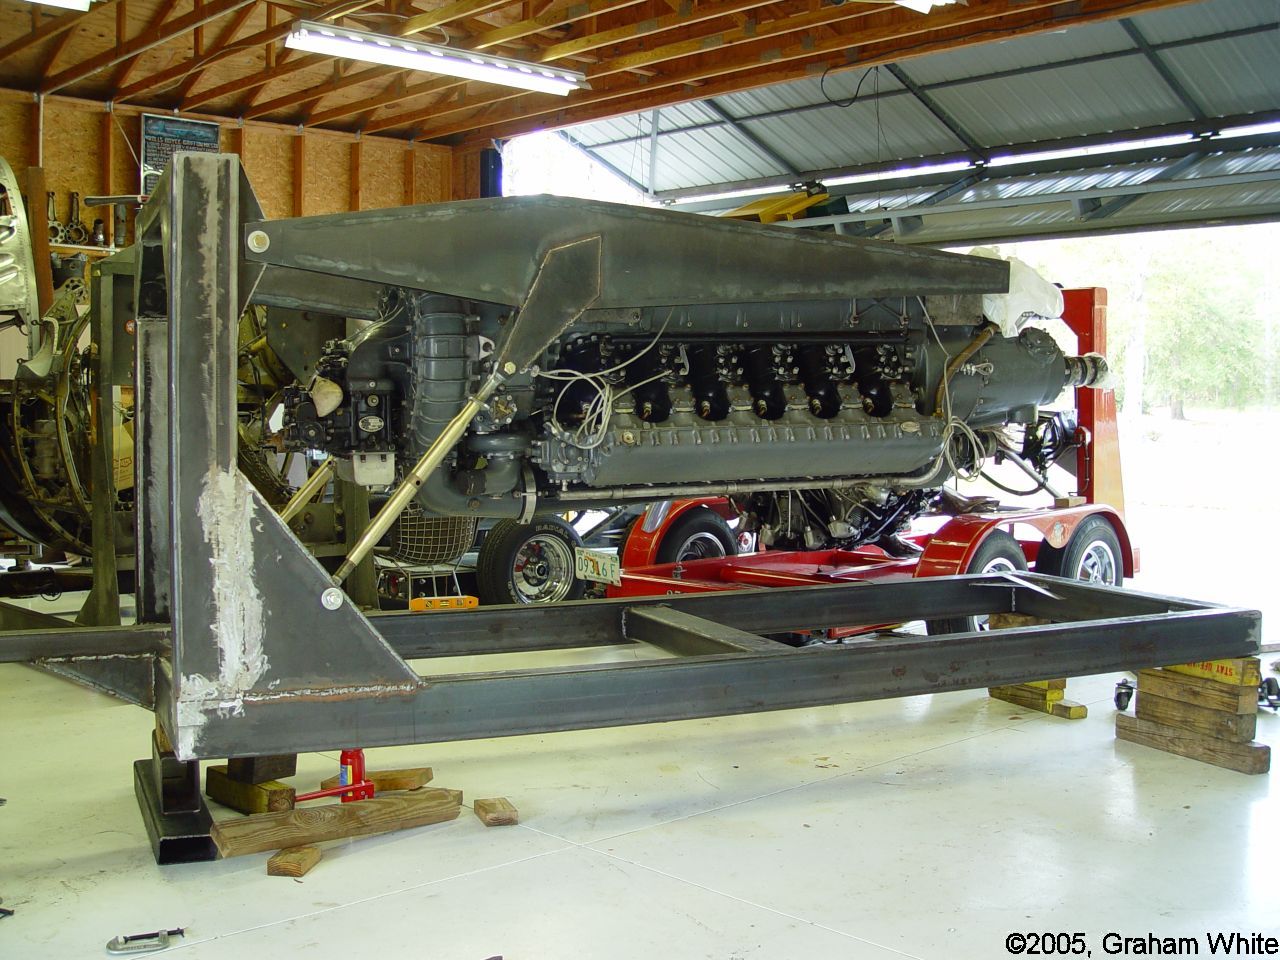
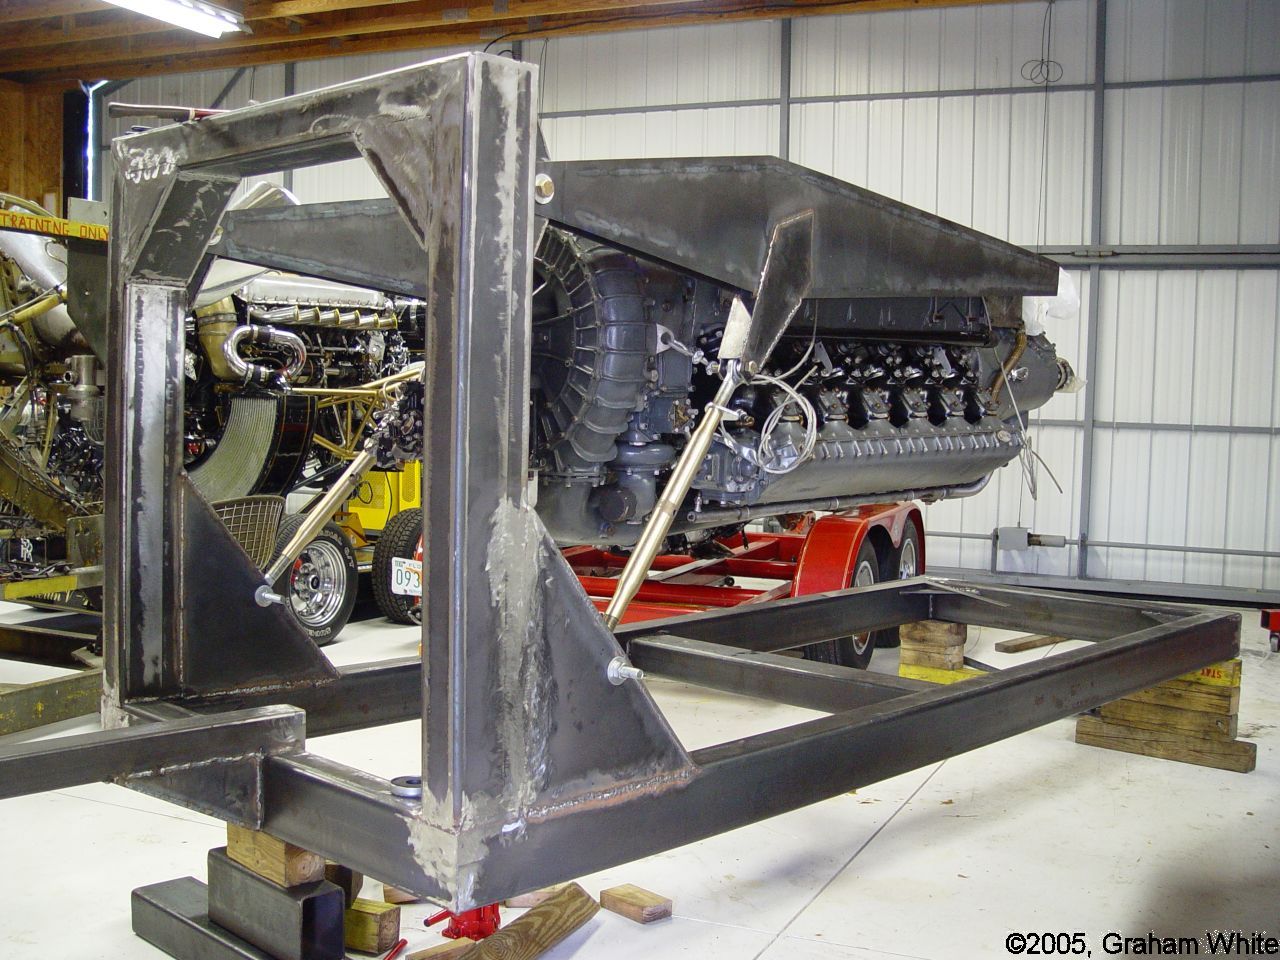
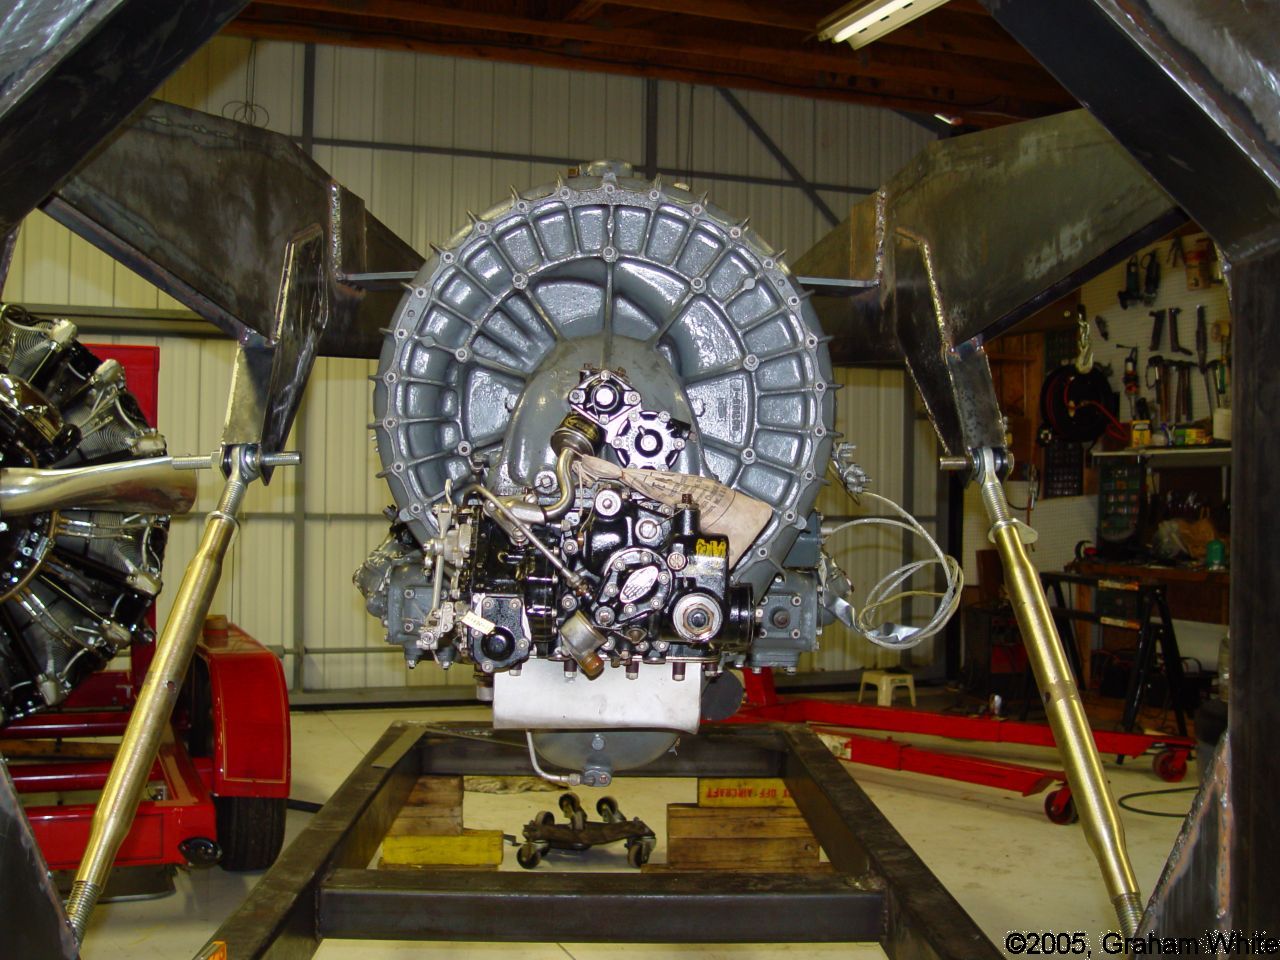
| Layout design for the display trailer using El Cheapo CAD | Trailer Side View Showing More Details | IV-1430 Sitting on Blocks Ready for Installation | IV-1430 Sitting on Blocks Ready for Installation | As rare as they come; Continental IV-1430 Data Plate | In simplistic terms, the trailers I design are "L" stands on wheels. This shot shows the vertical member of the "L" stand. | The horizontal member of the "L" stand. A simple 3" square tow bar has been welded in place. Additional braces will be added later. | Despite careful jigging, errors occur. Here the arms of the vertical member "persuaded" with a 12 ton bottle jack. | With the weight of the parts being maneuvered, several cherry pickers are required. | Here we see the vertical member being placed into position for welding to the horizontal member. |
|
|
|
|
|
|
|
|
|
|
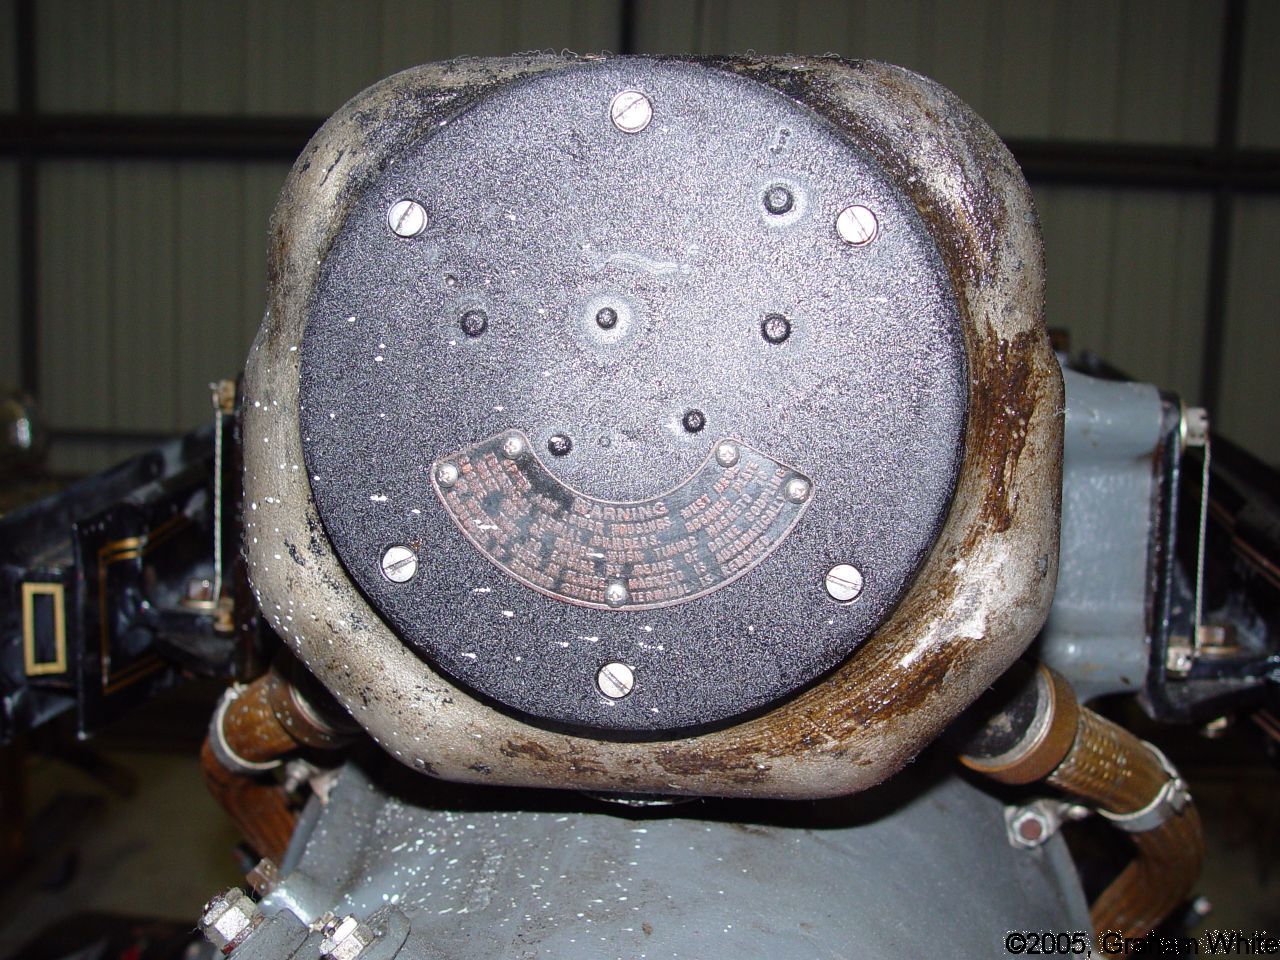
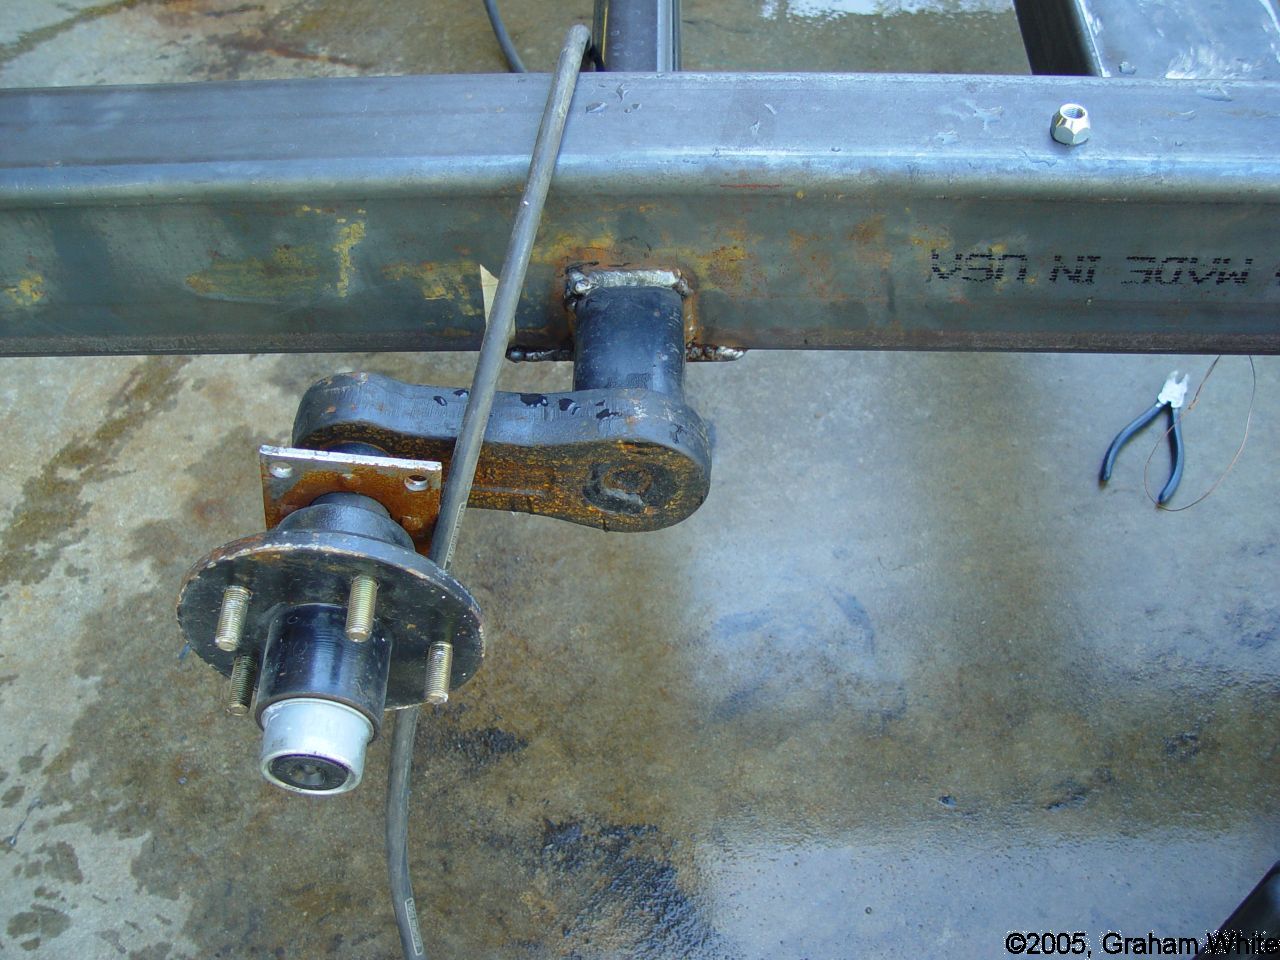
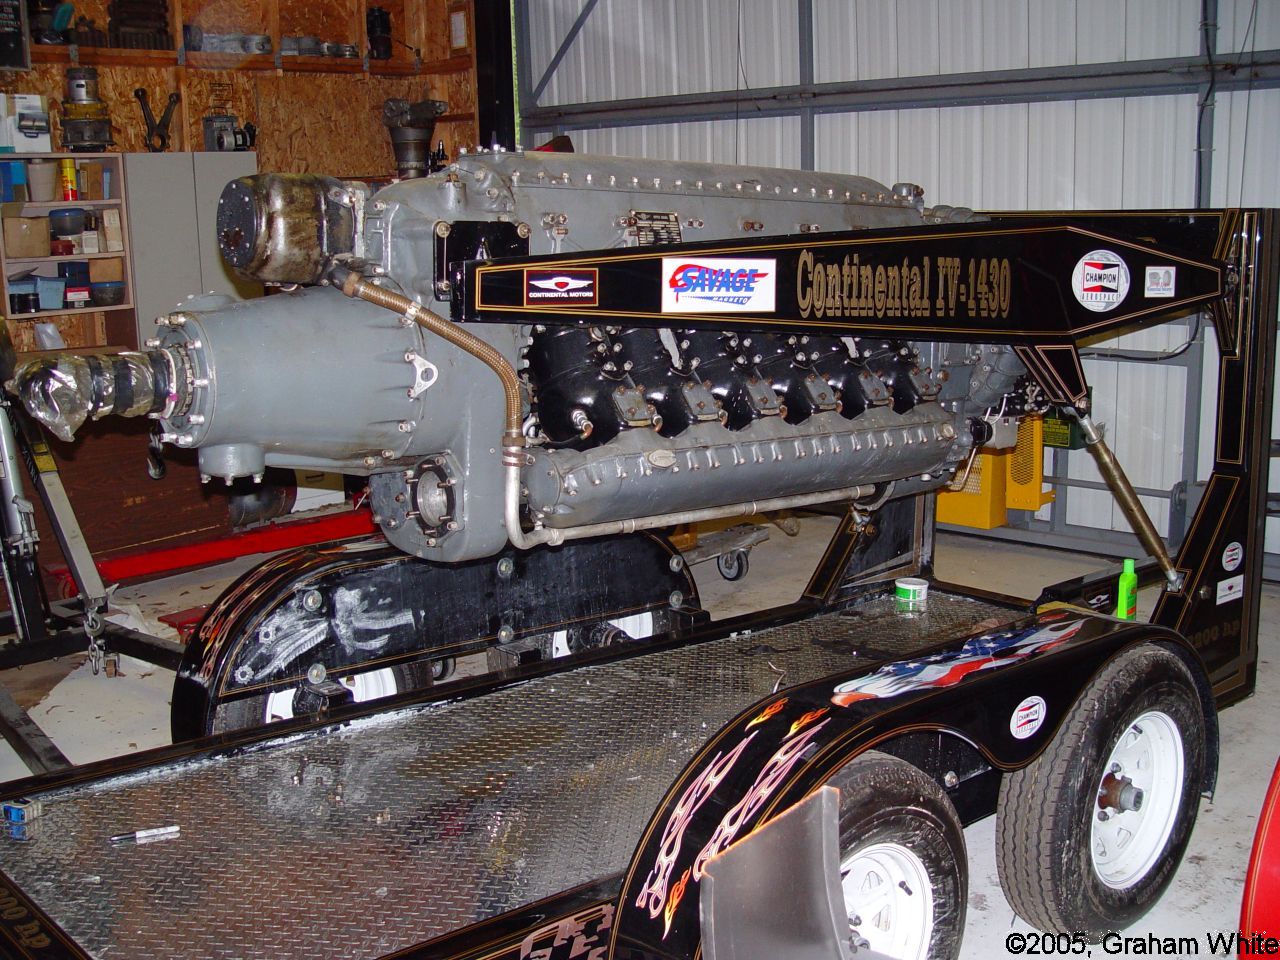
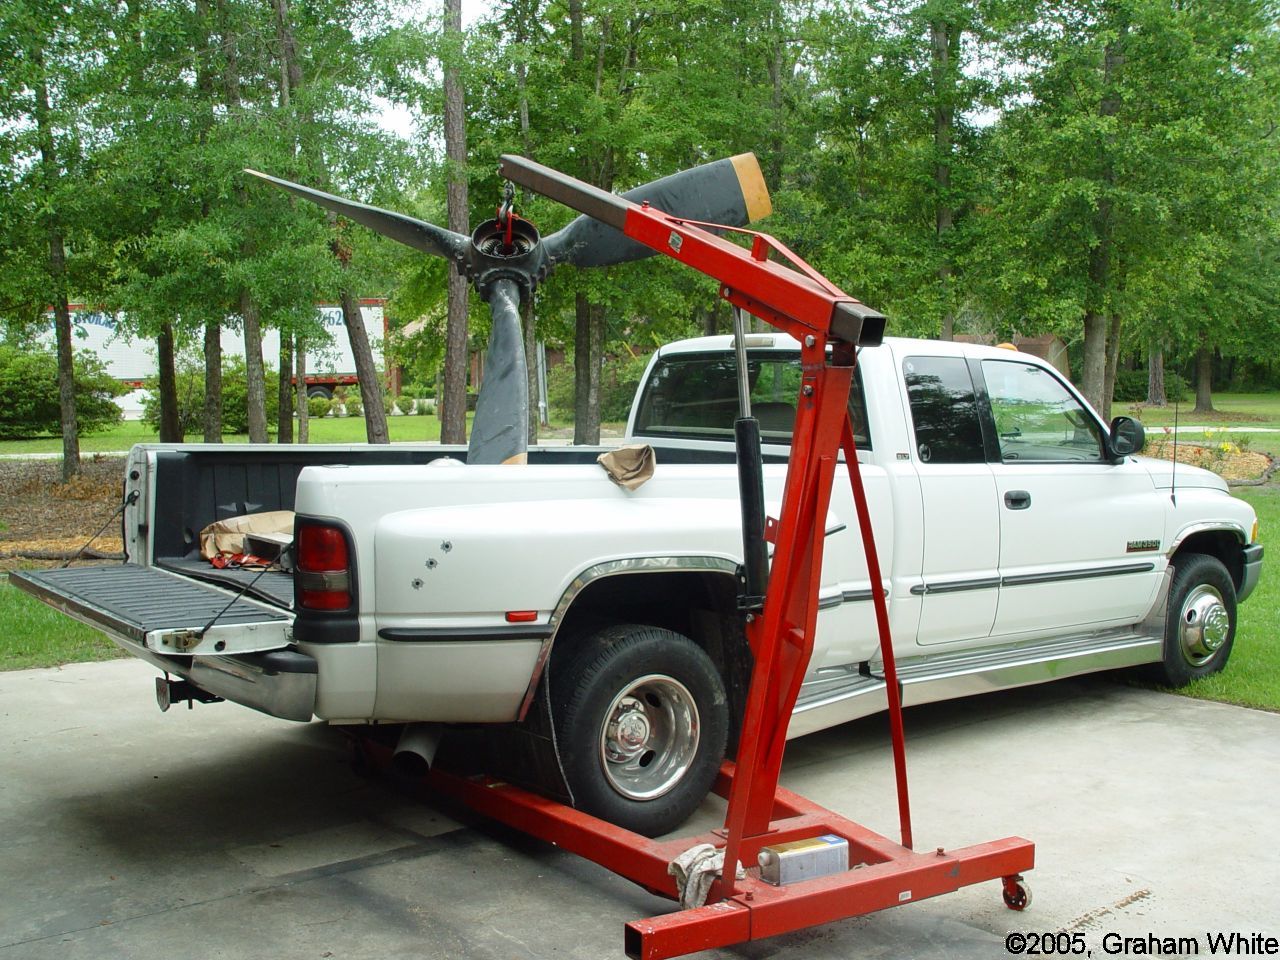
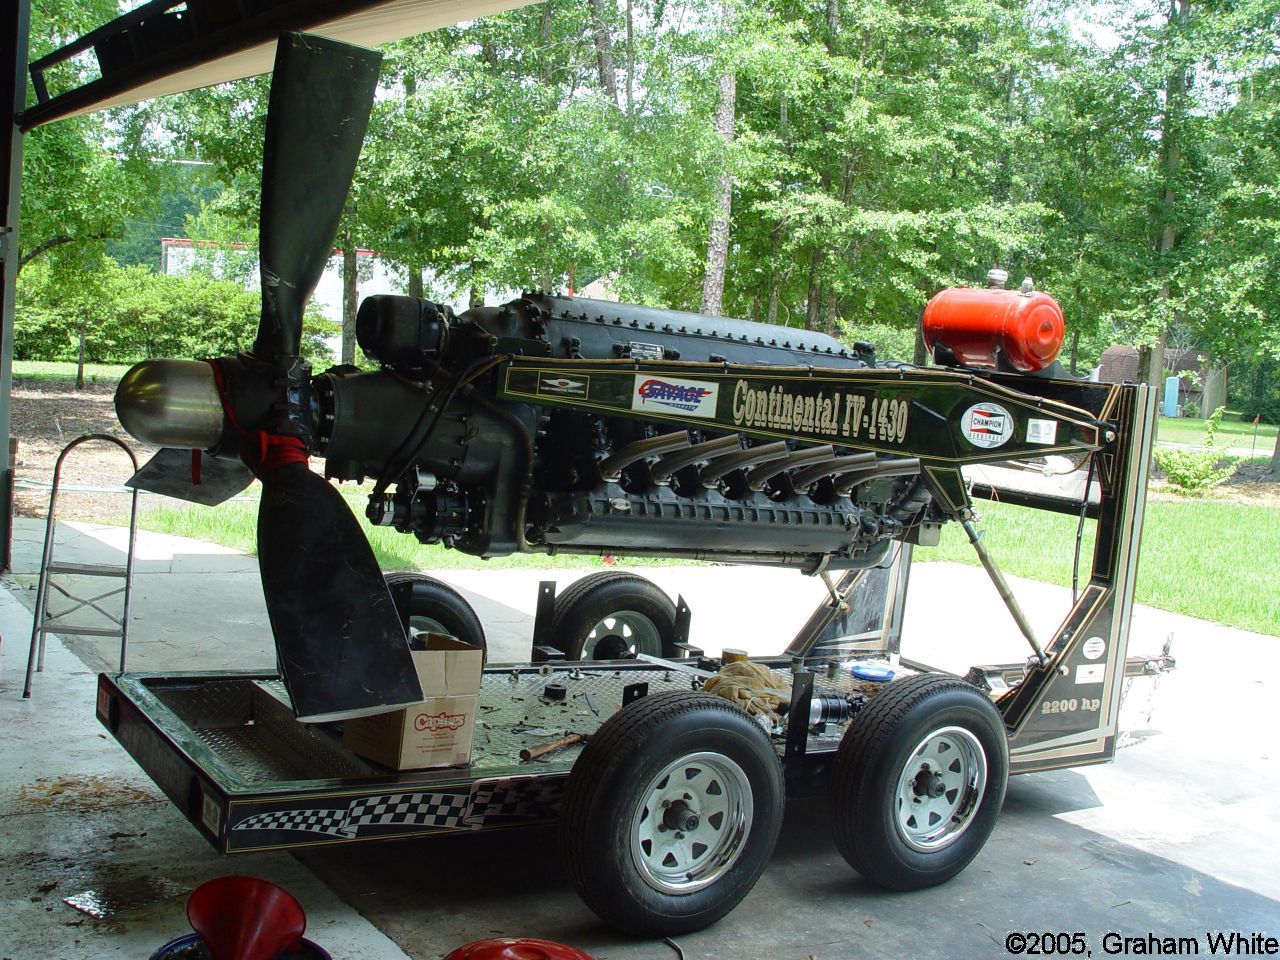
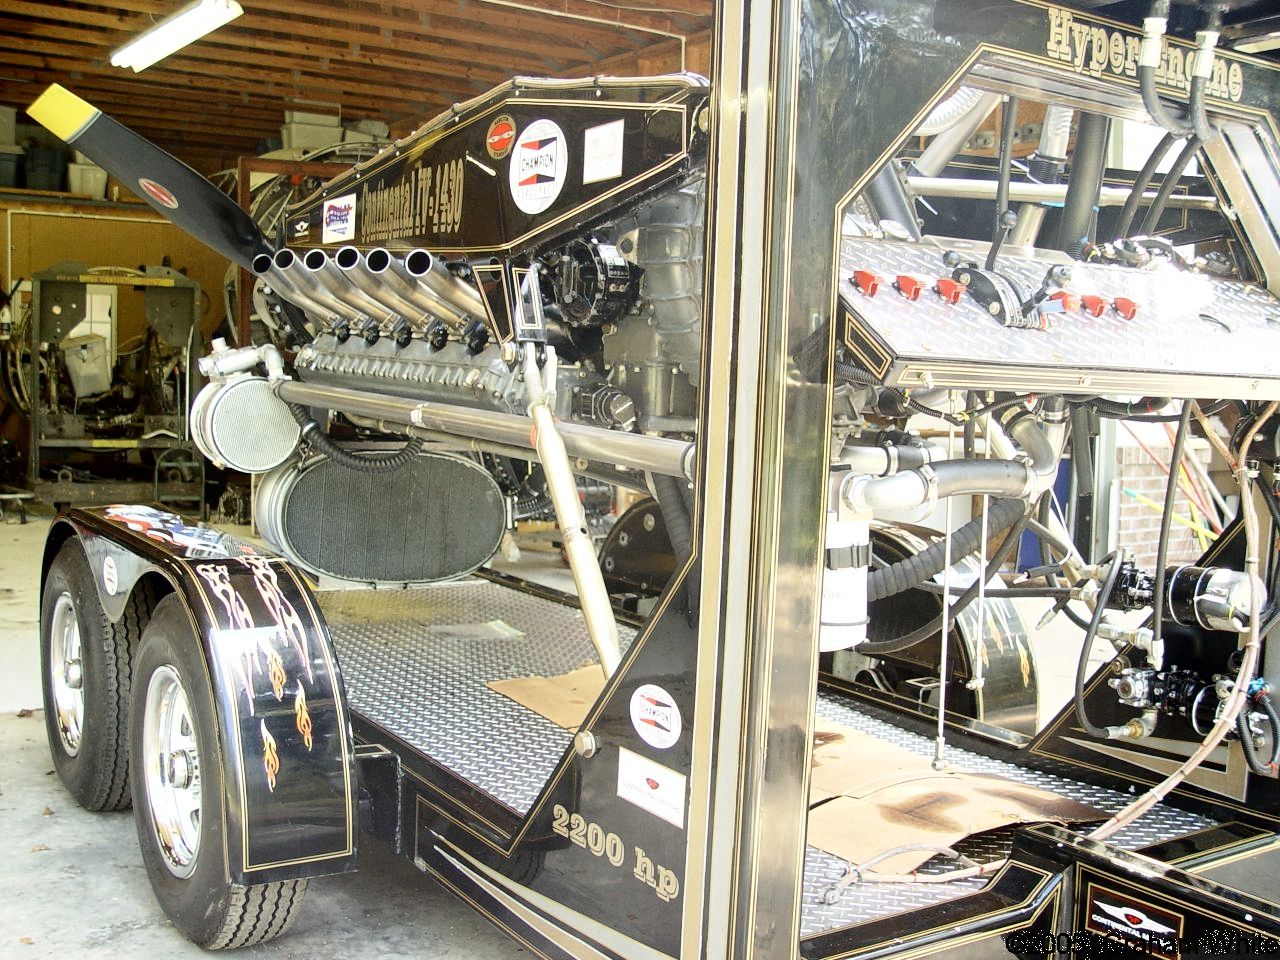
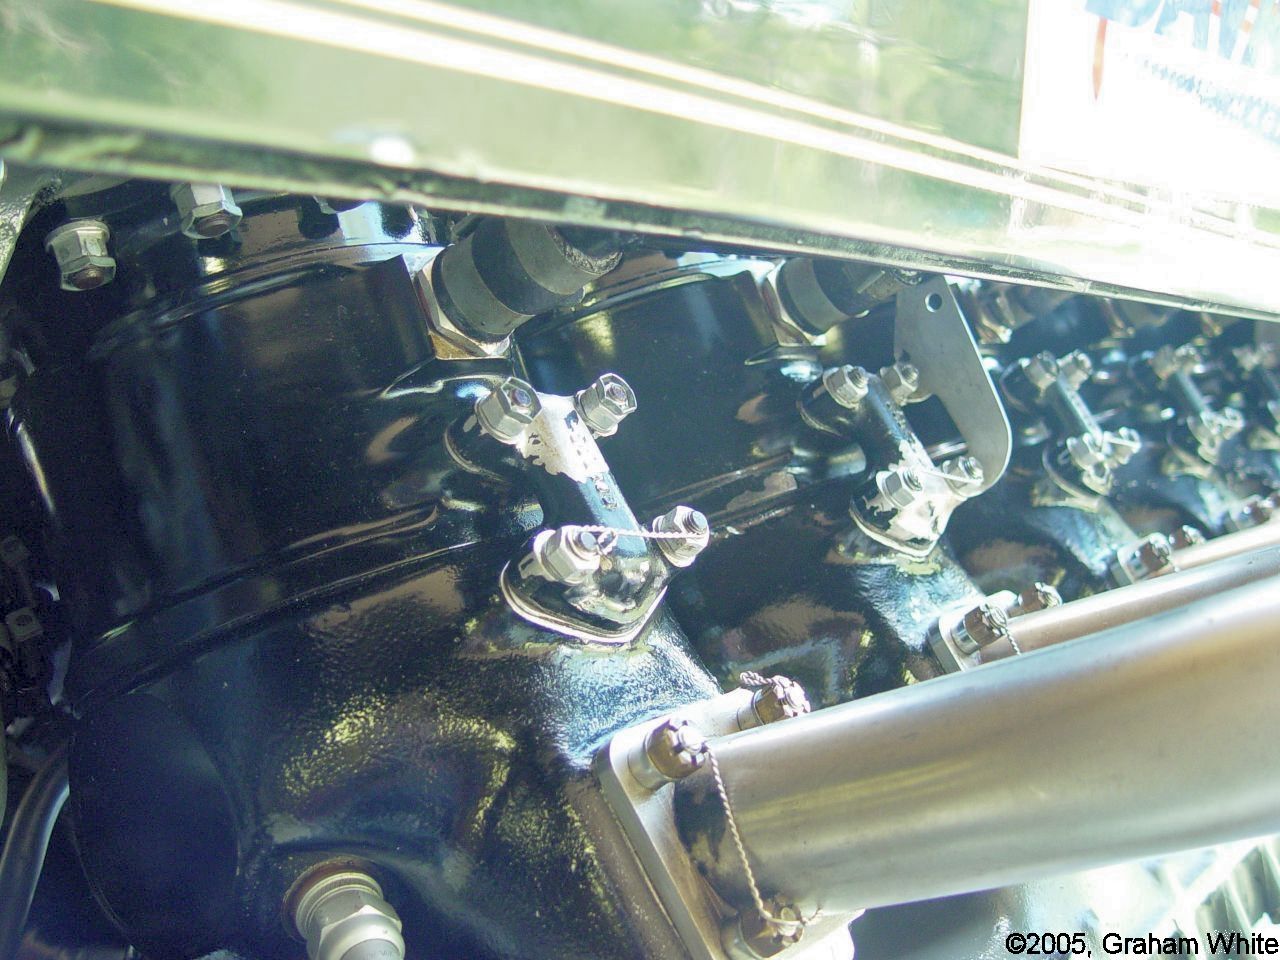
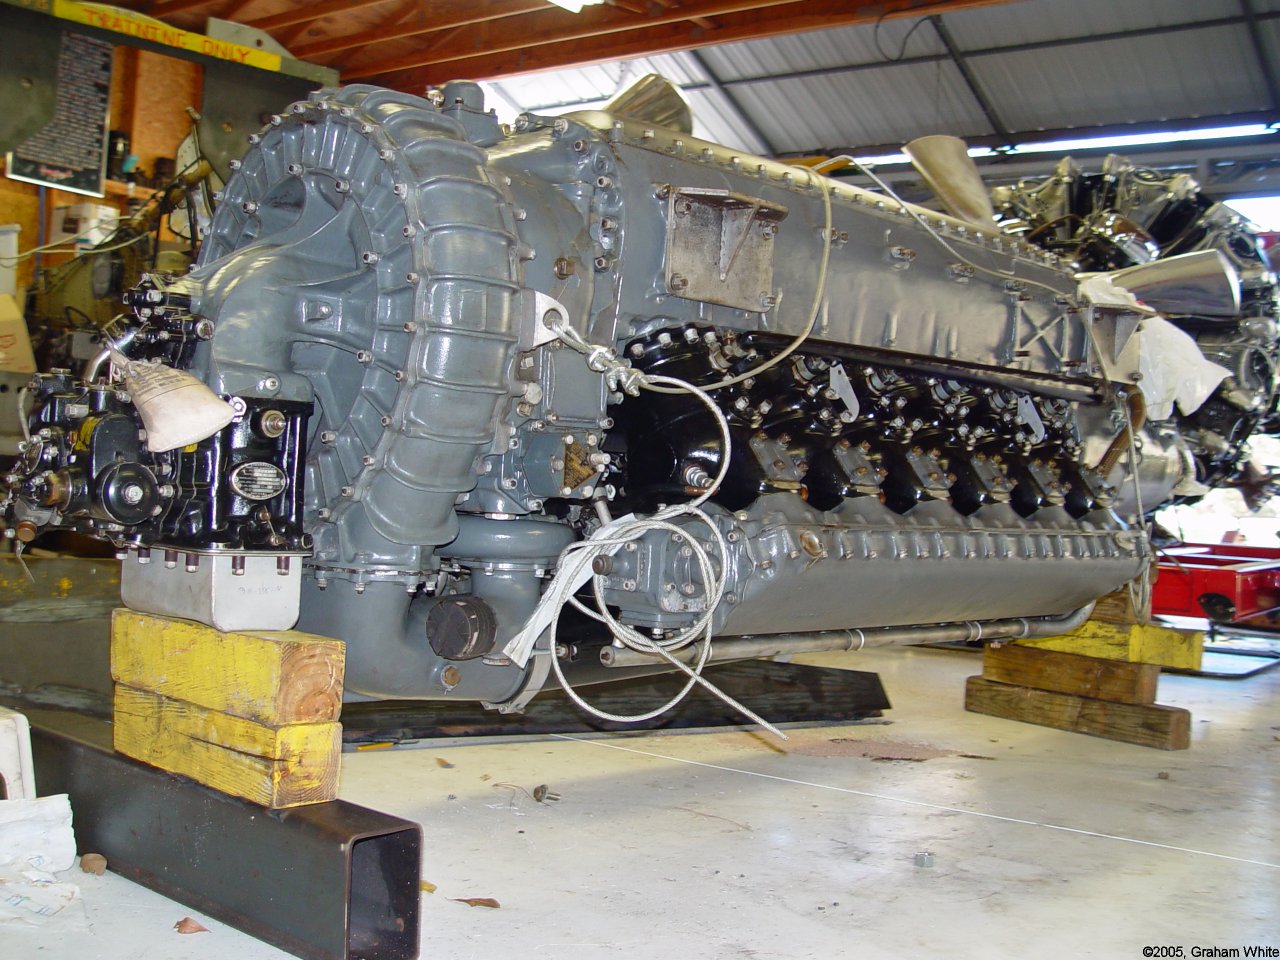
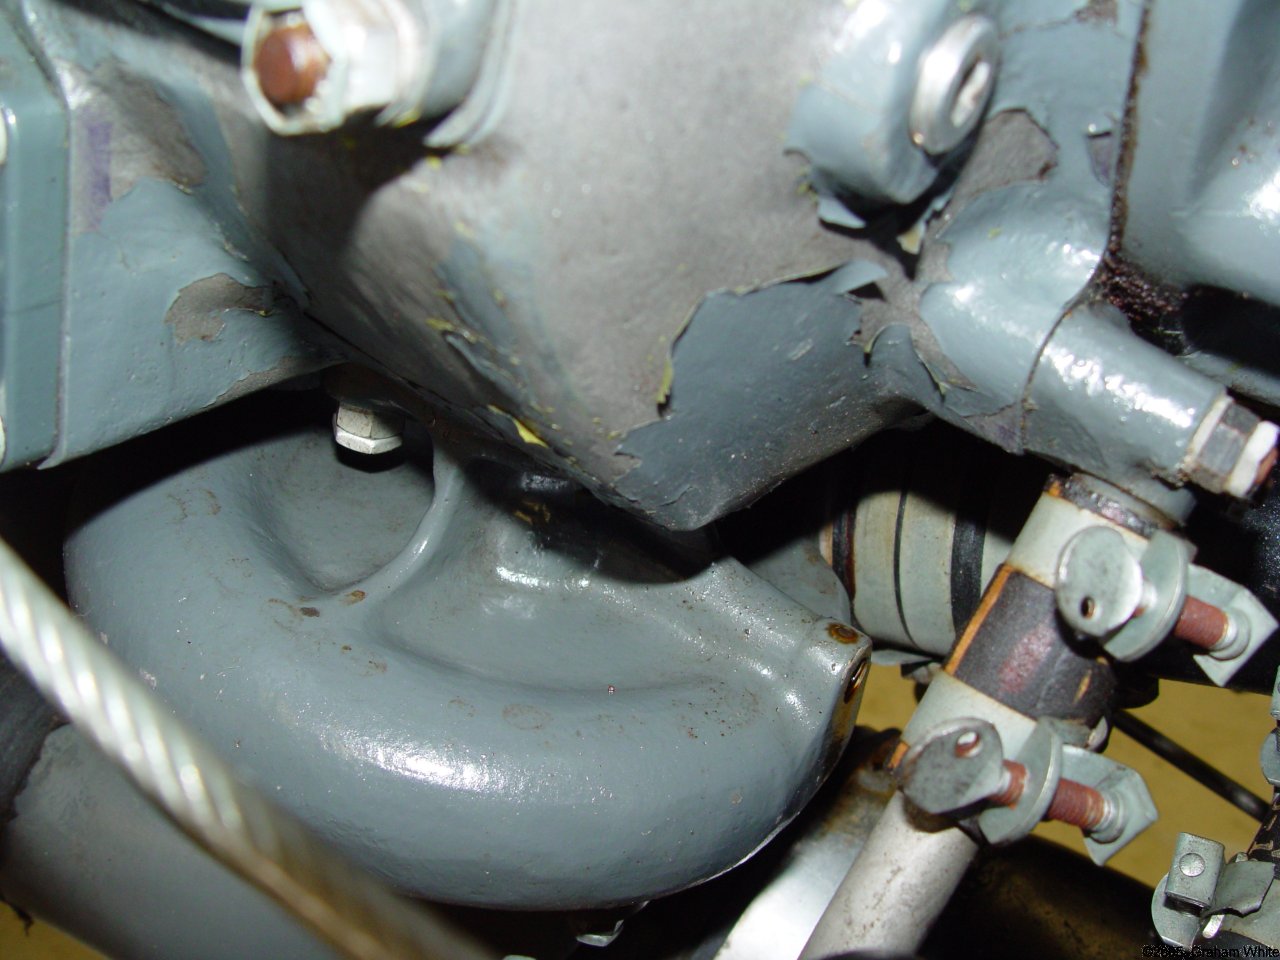
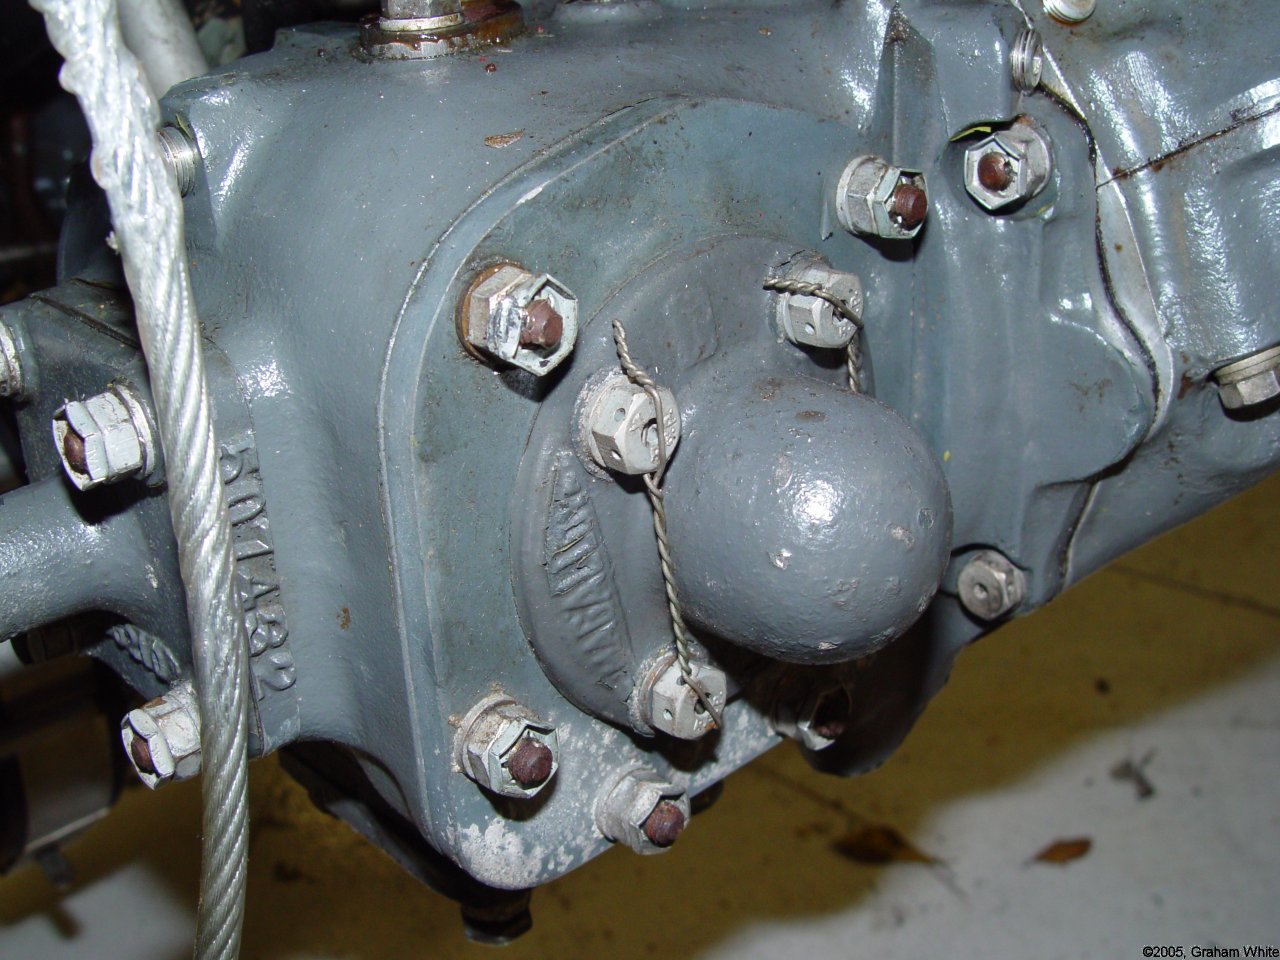
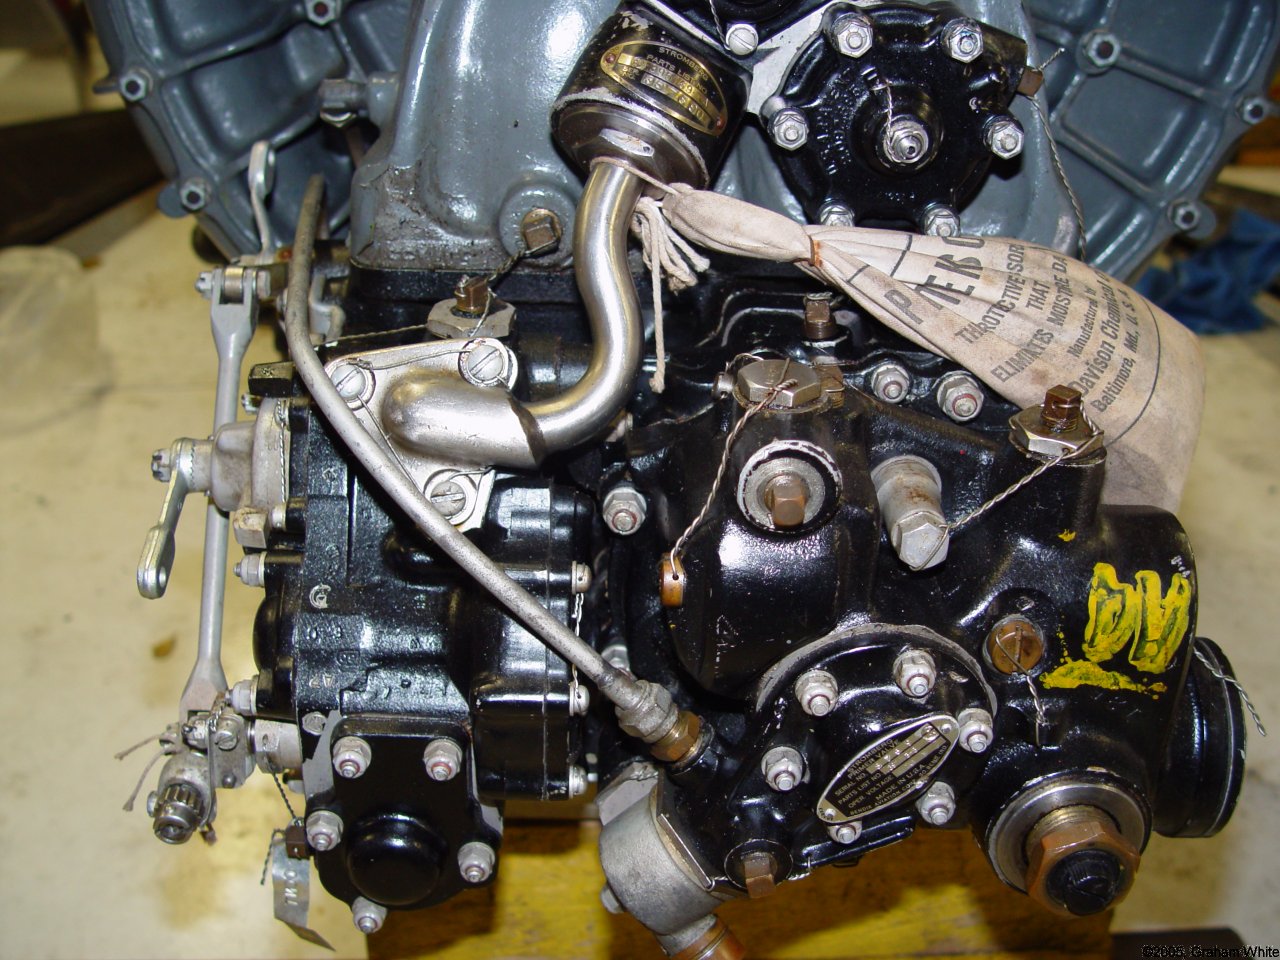
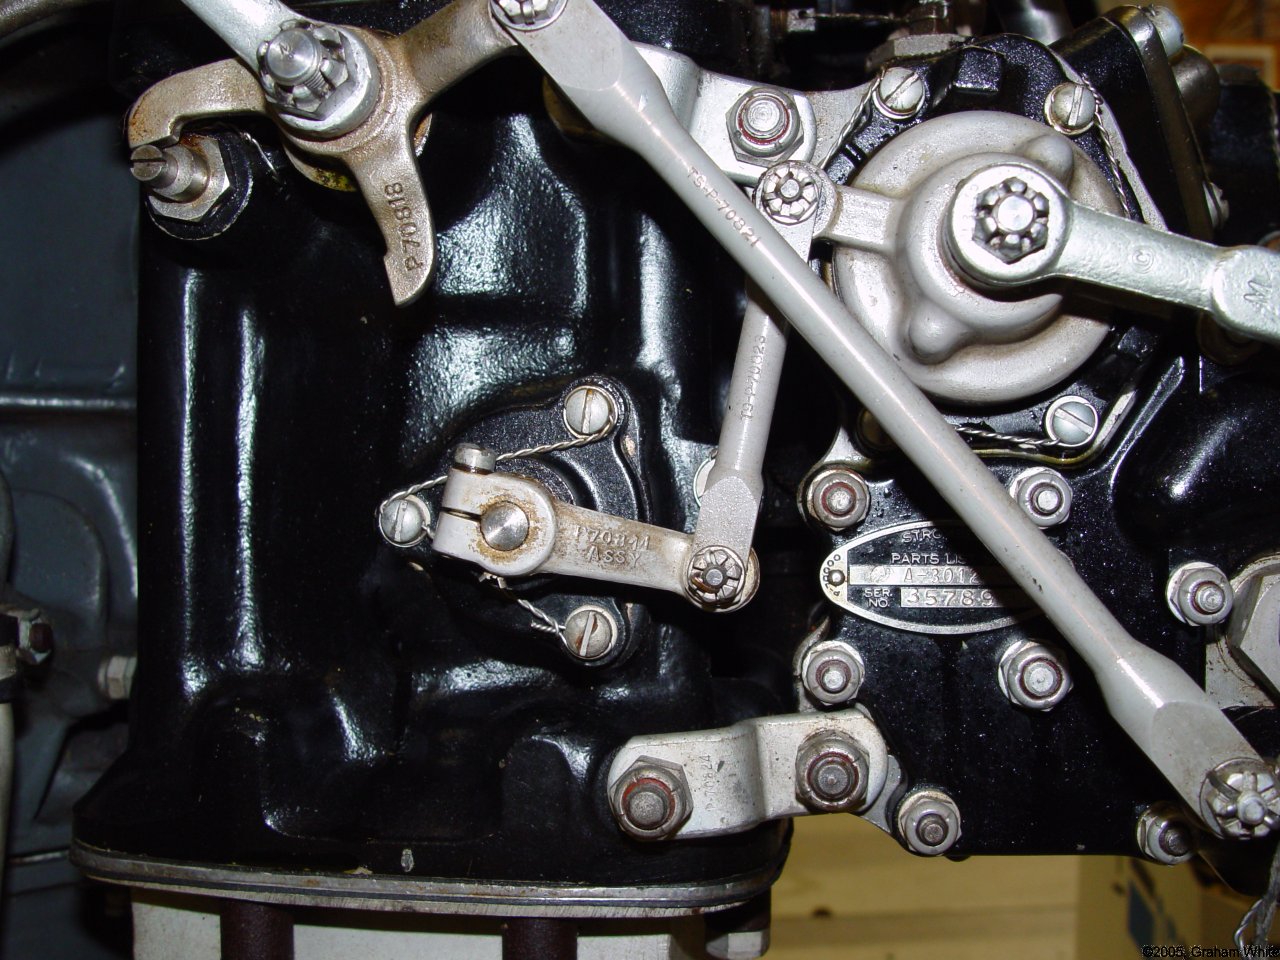
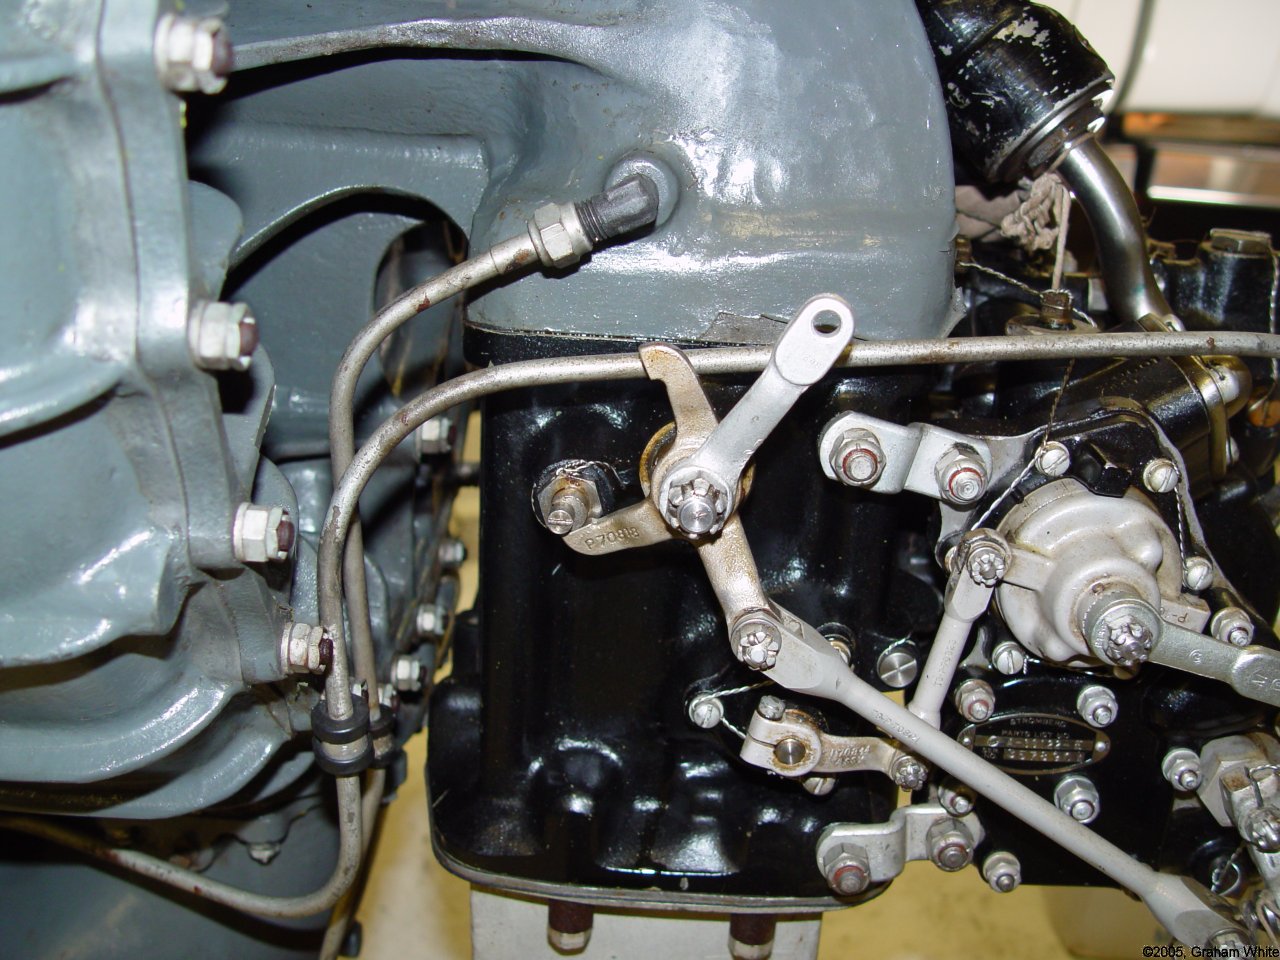
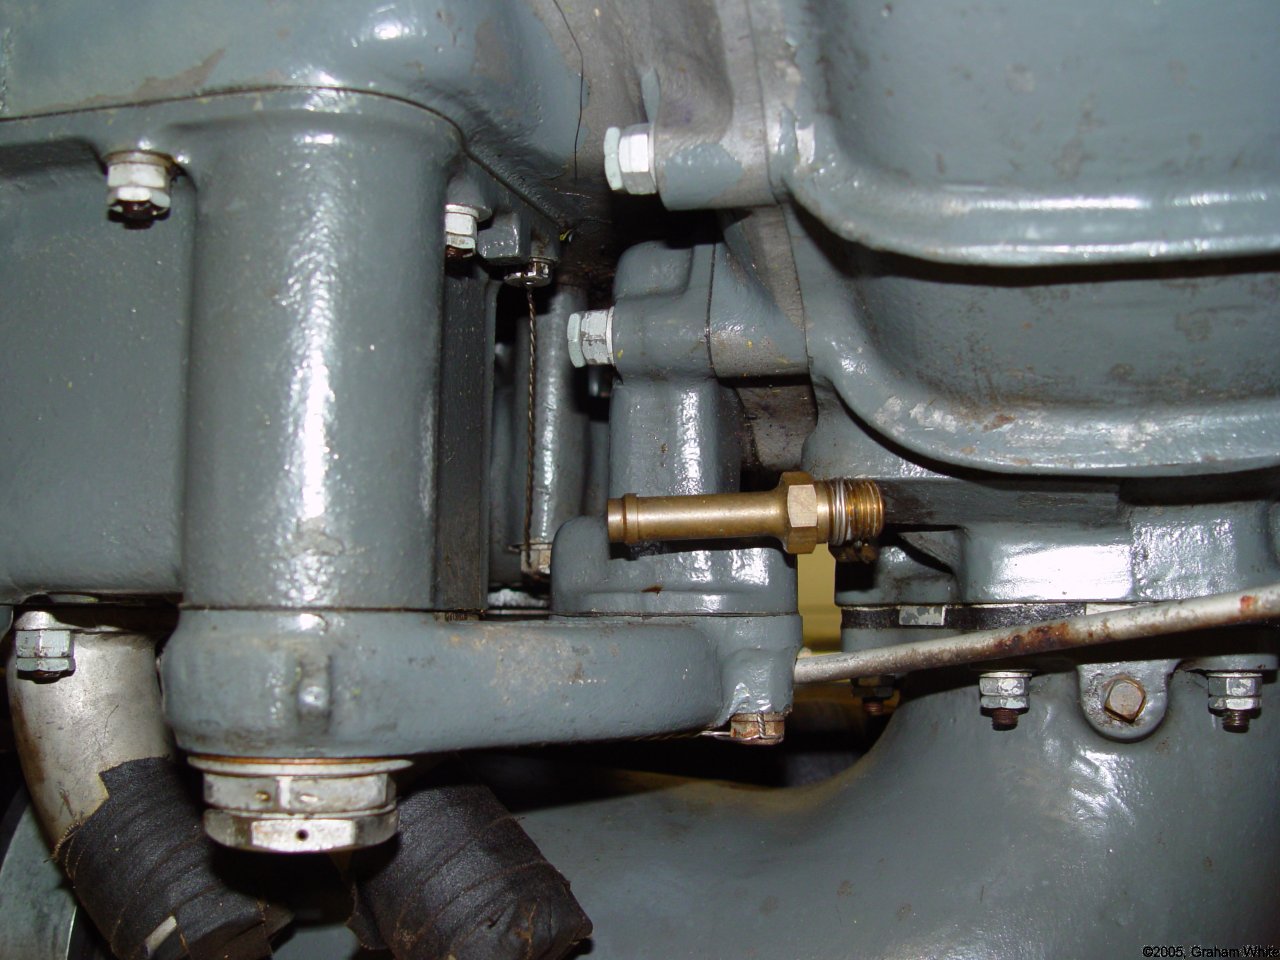
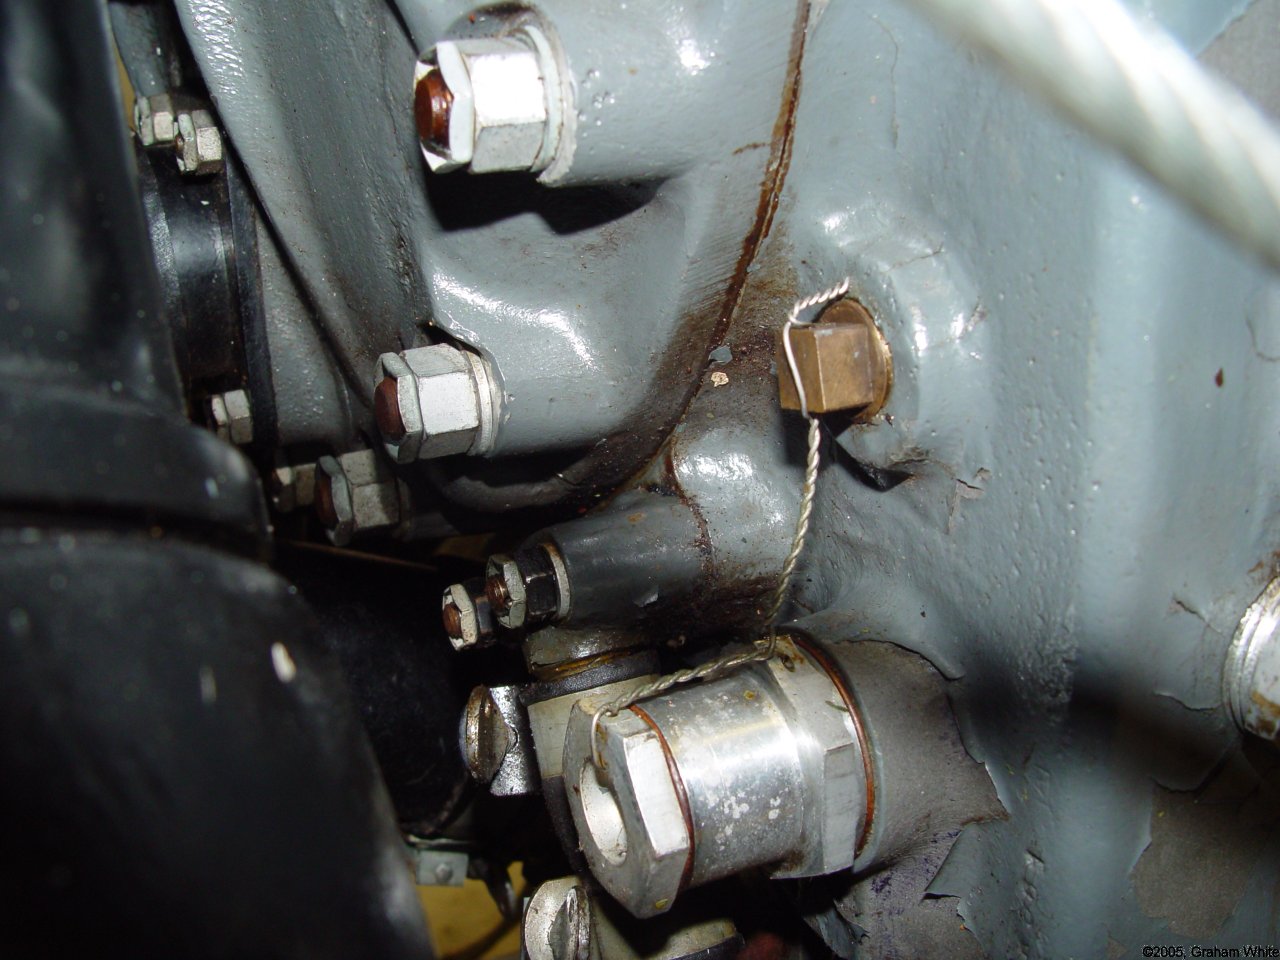
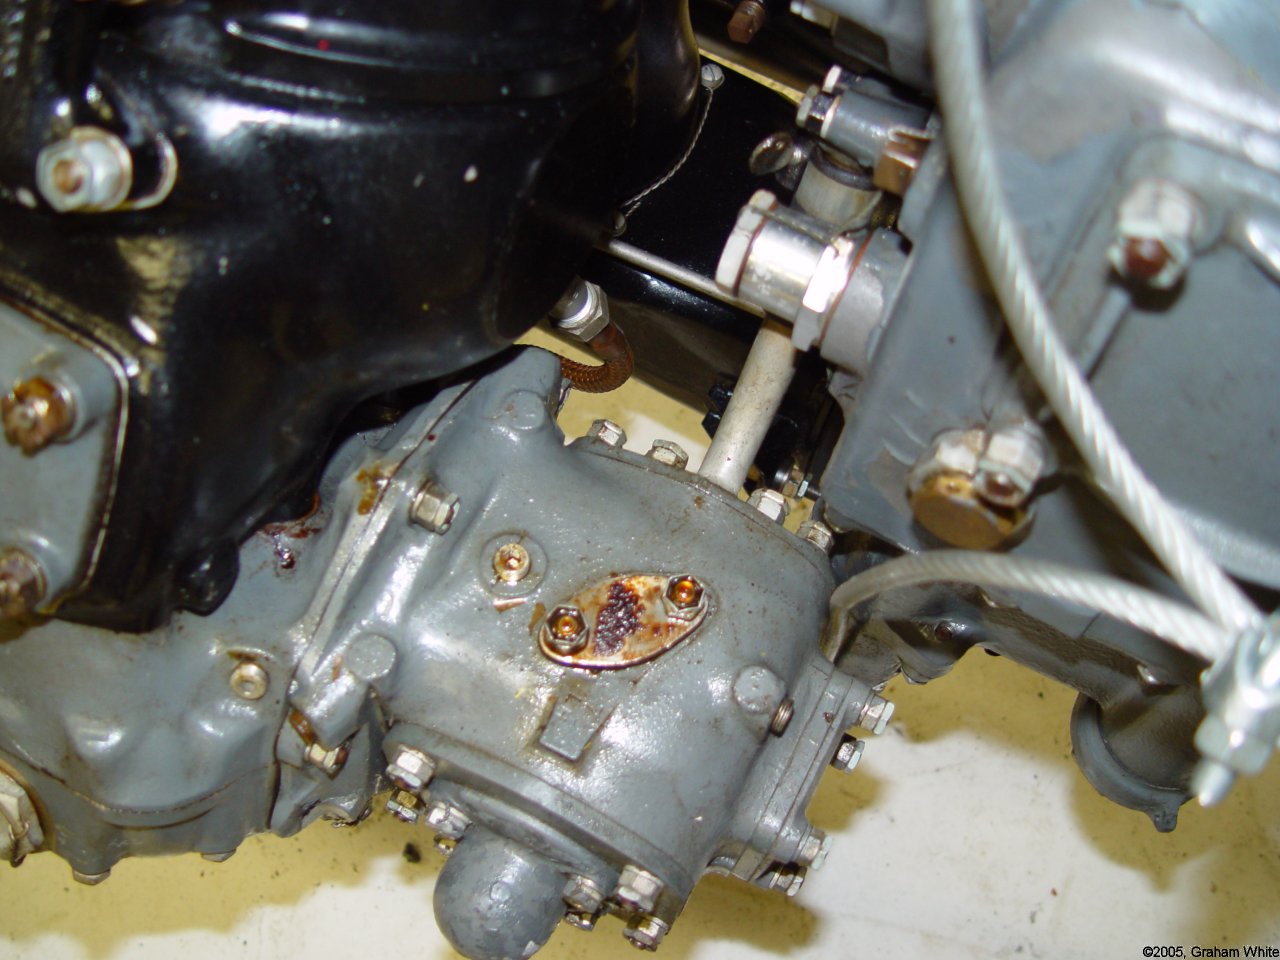
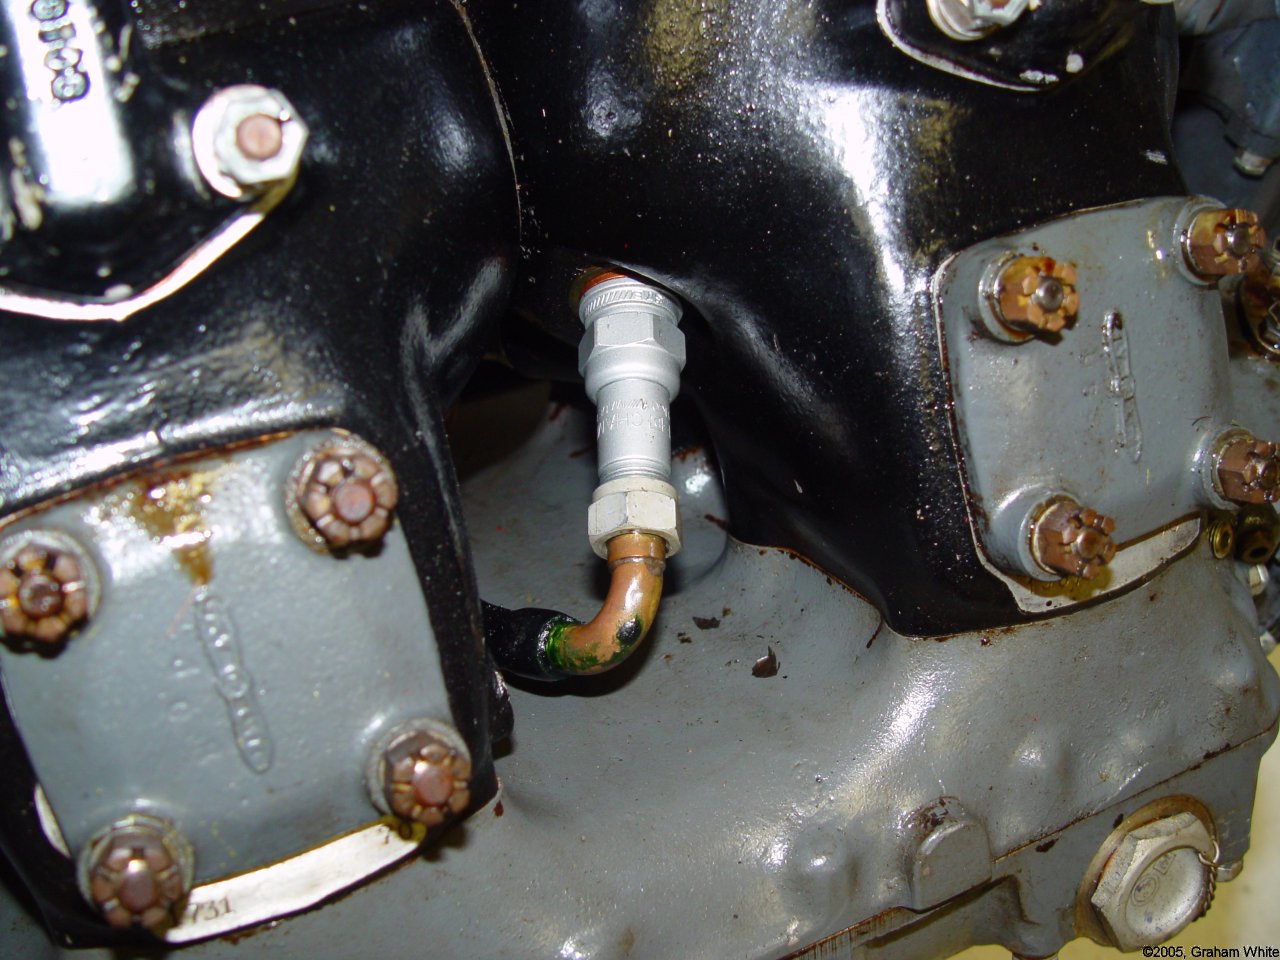
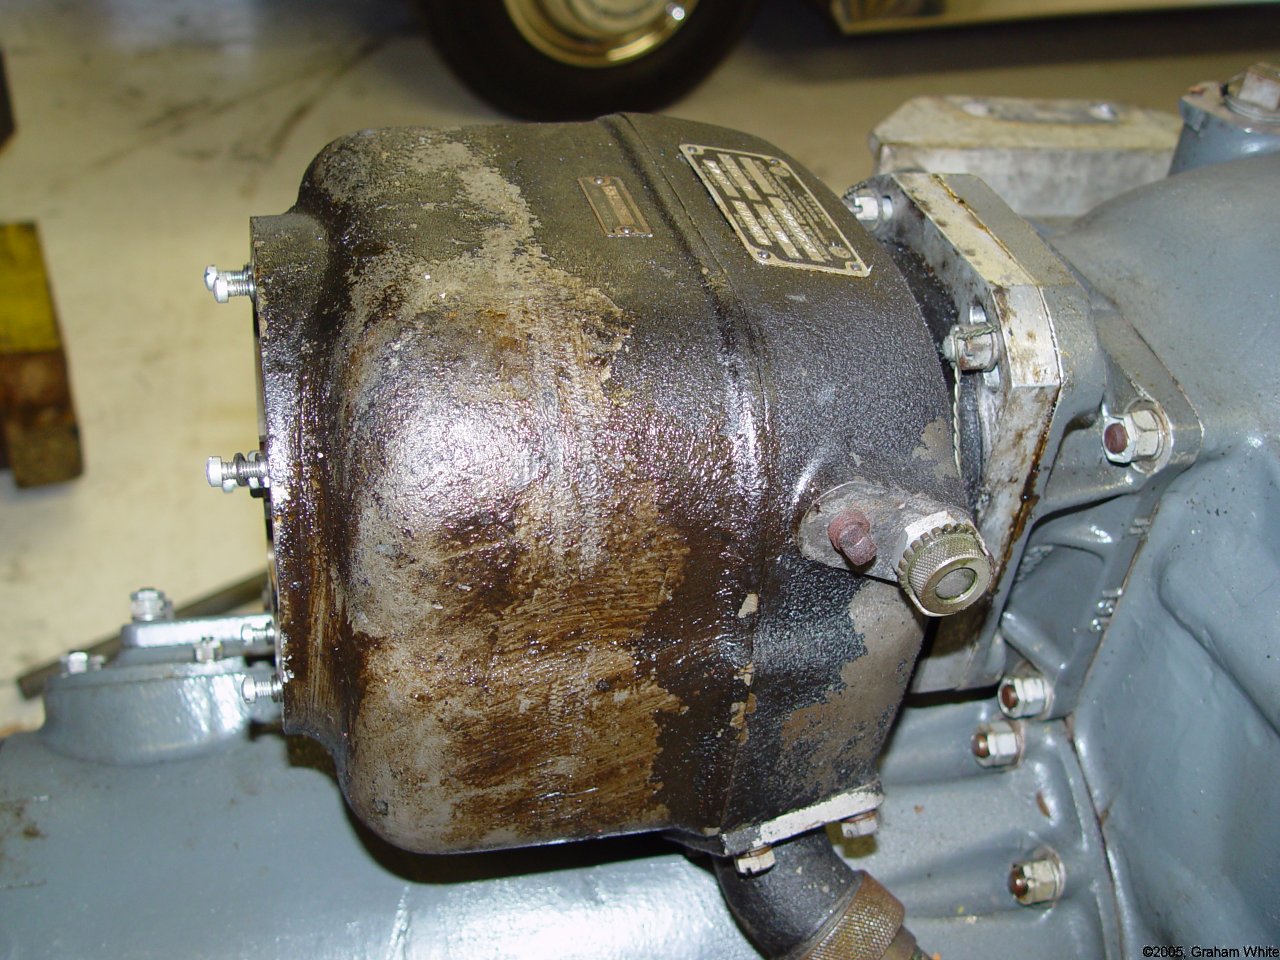
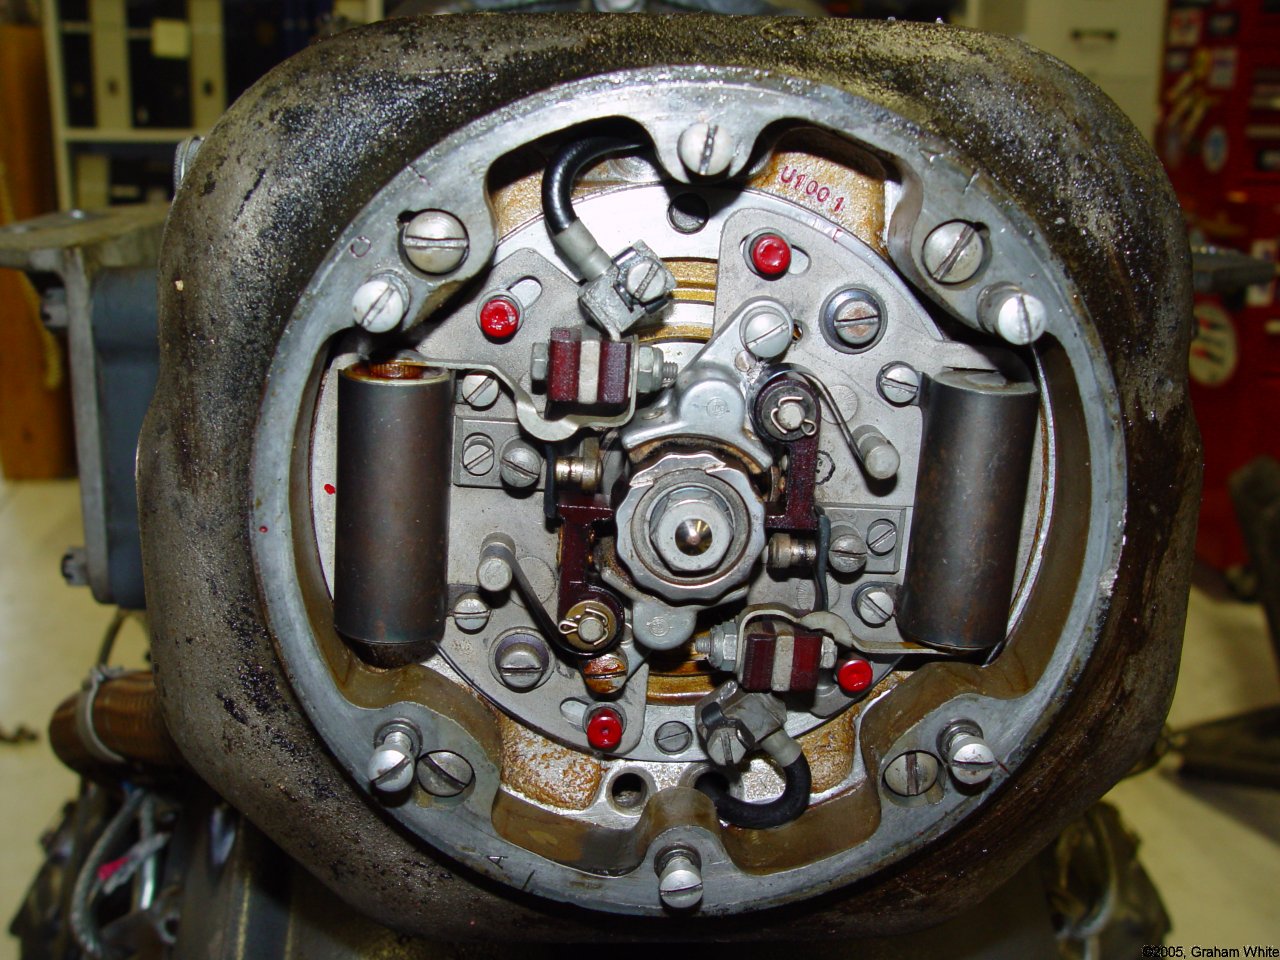
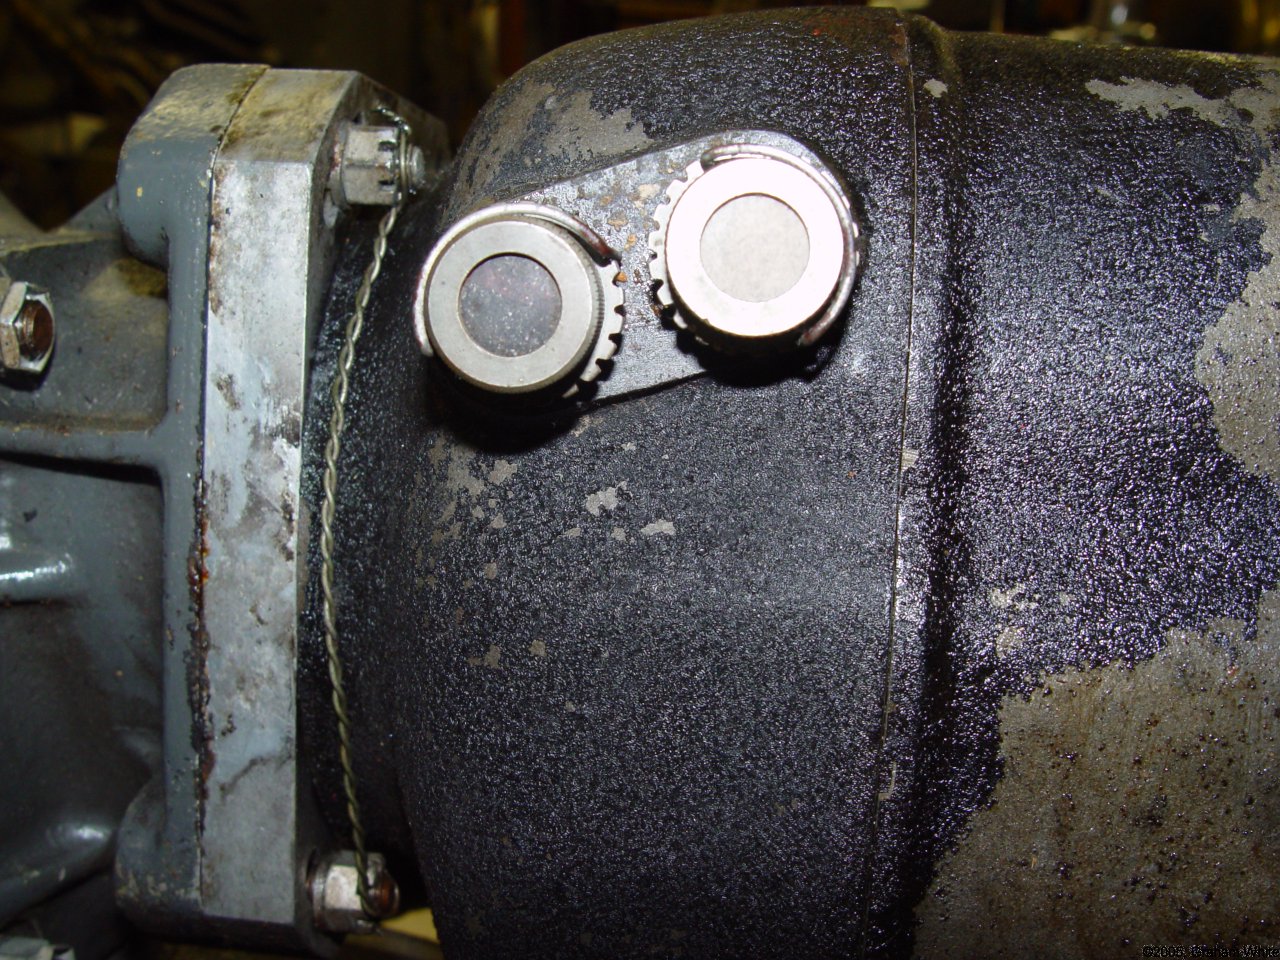
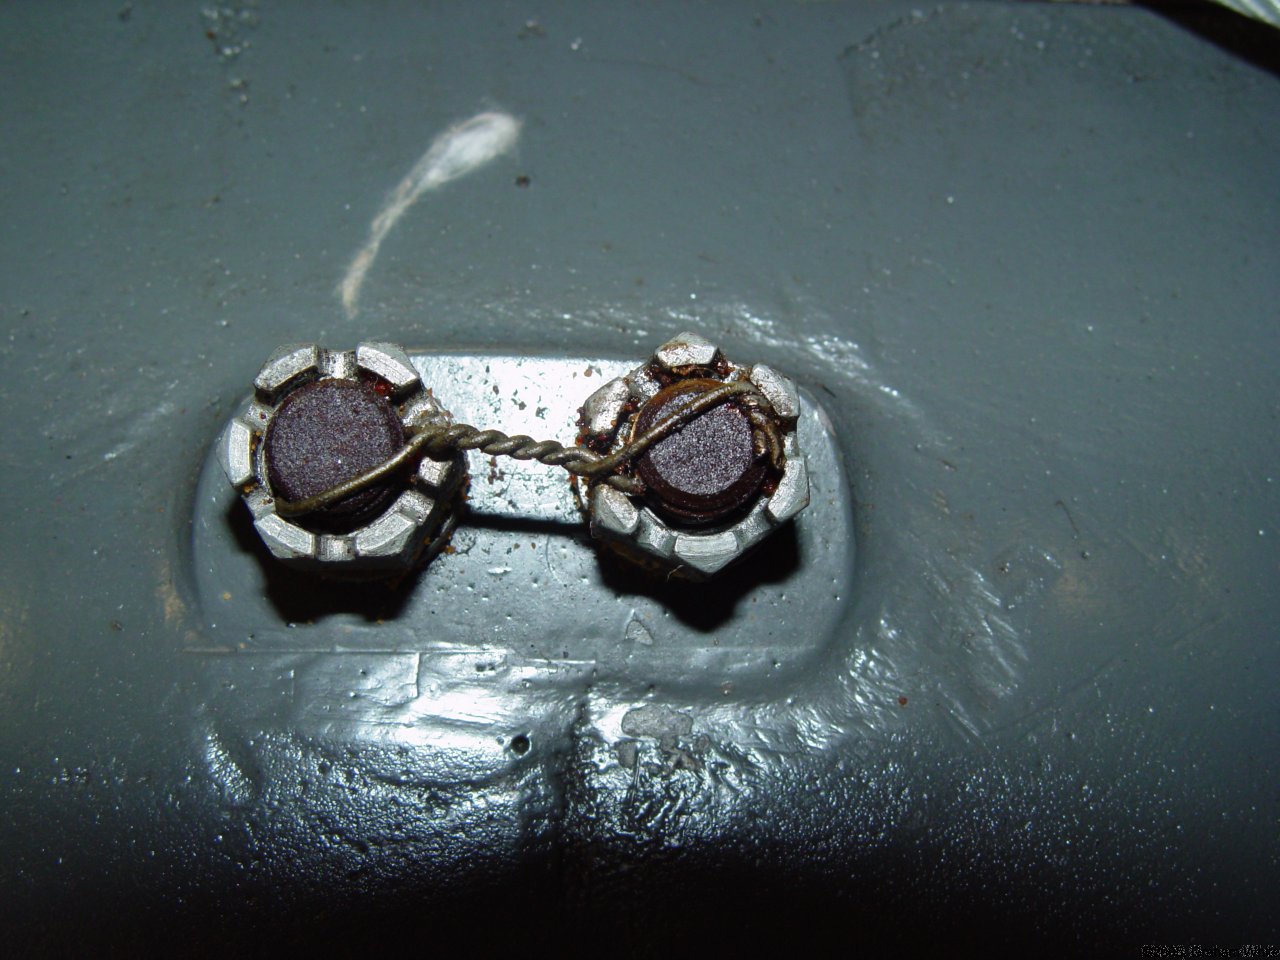
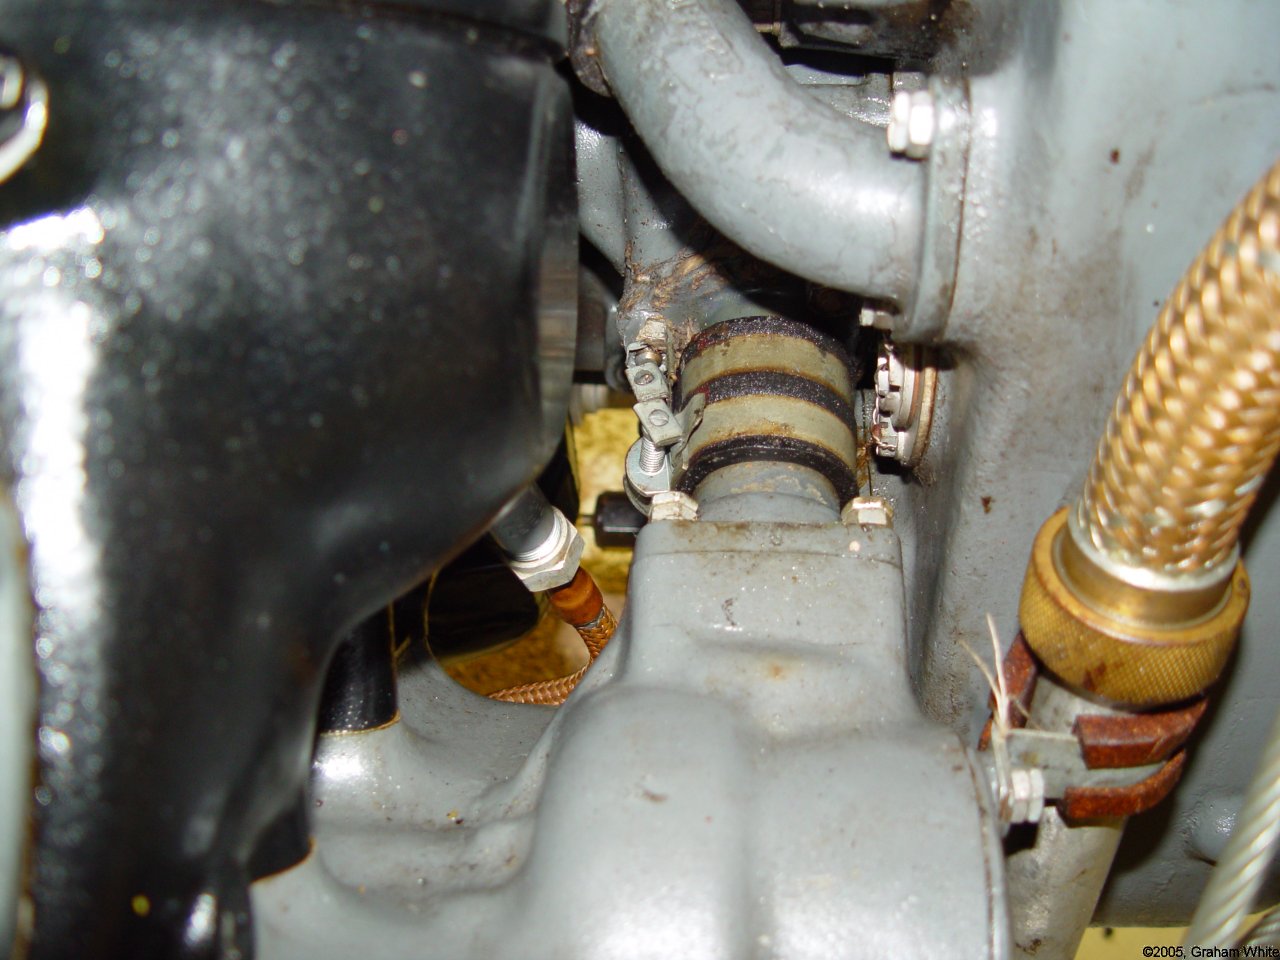
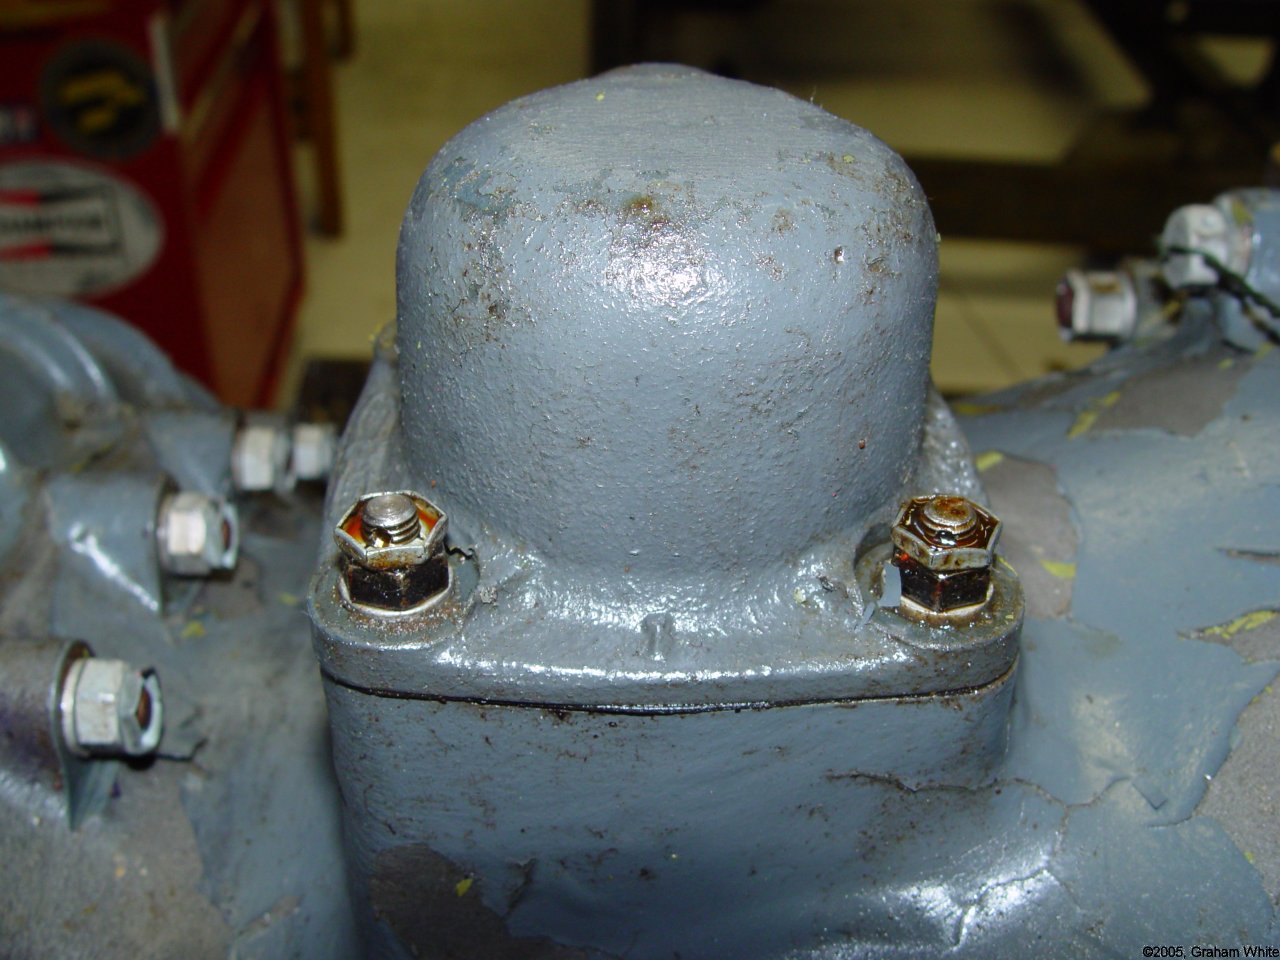
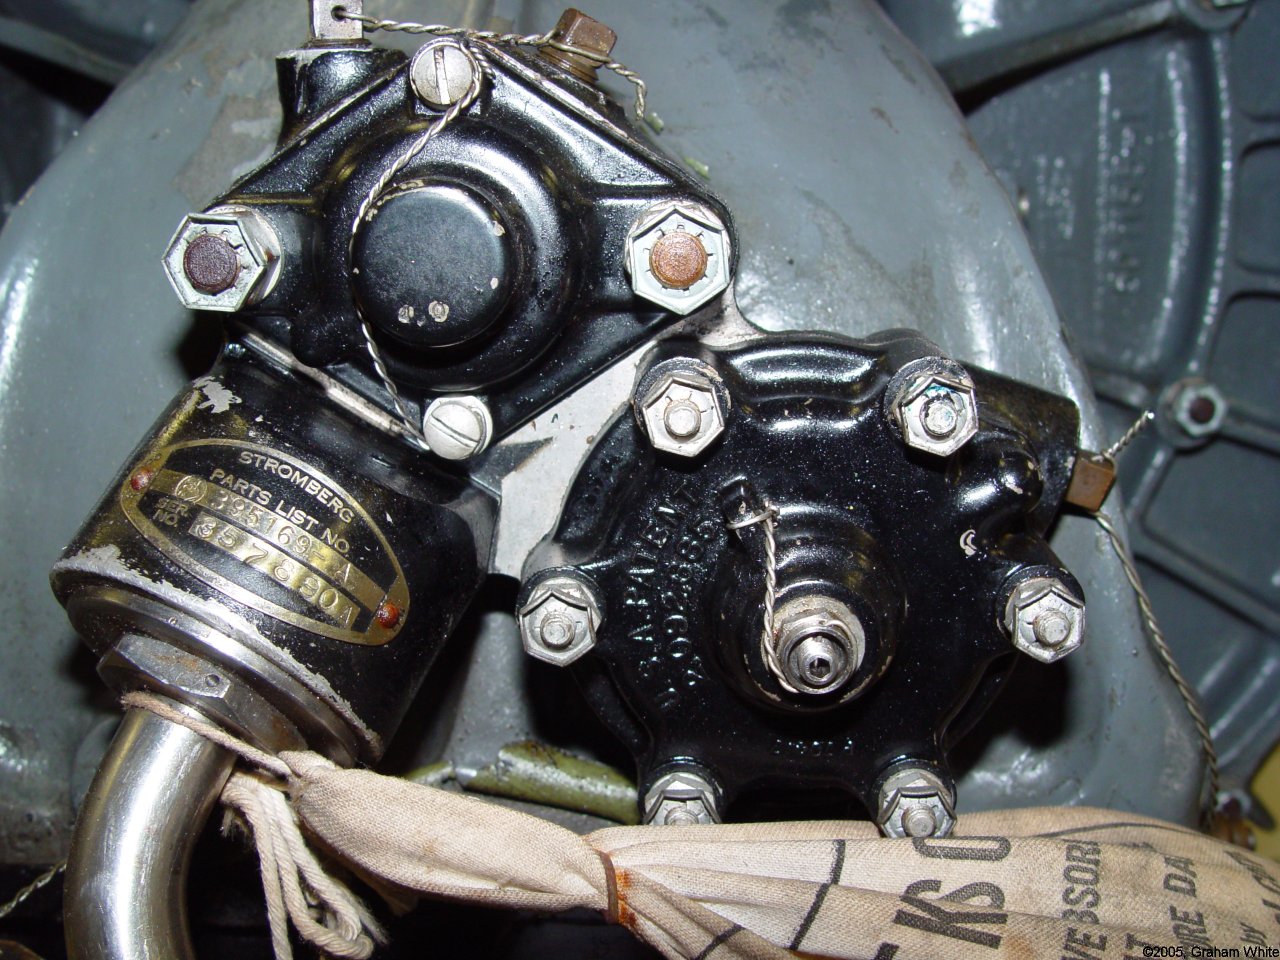
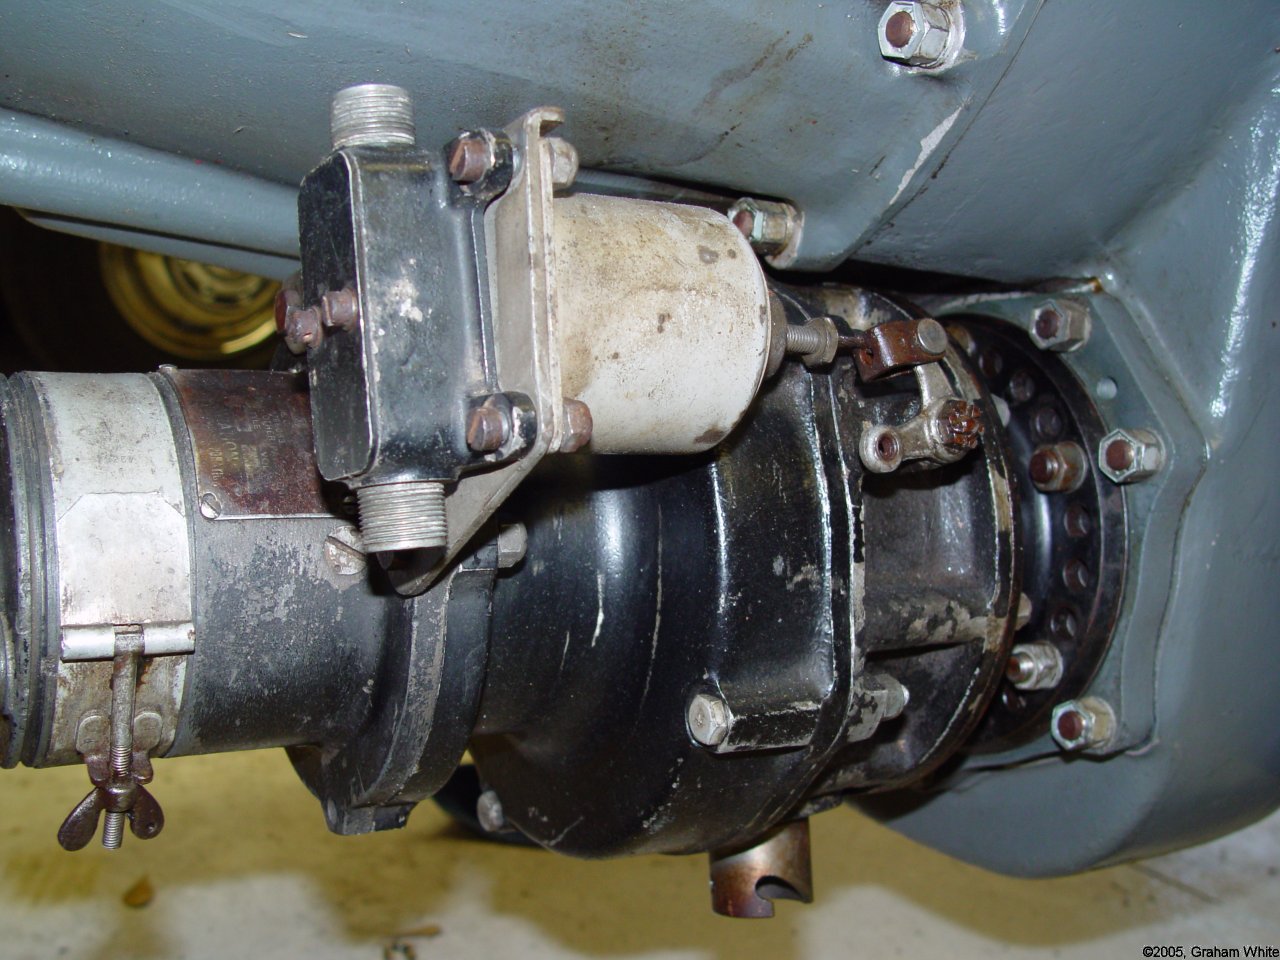
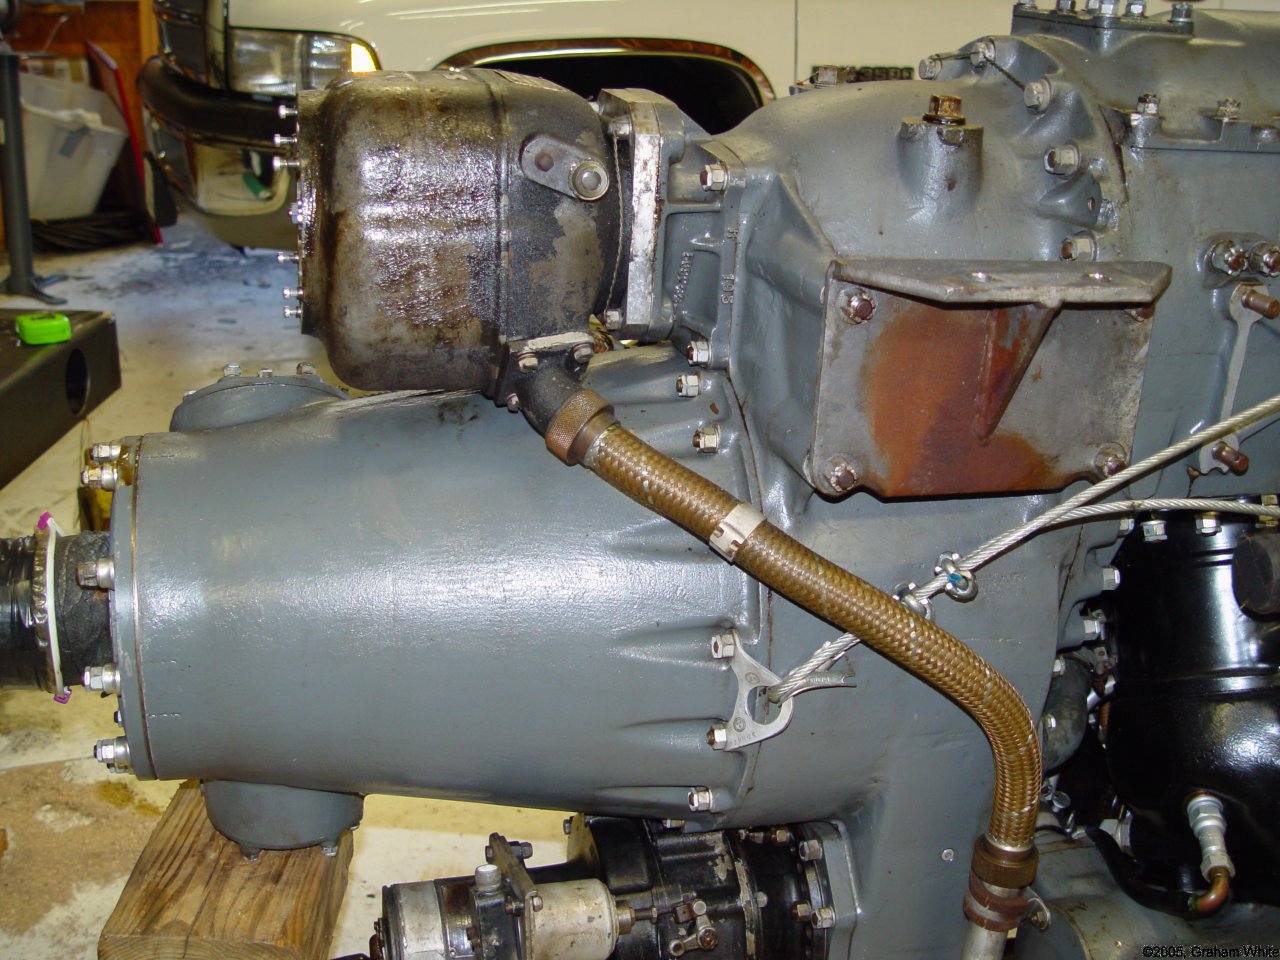
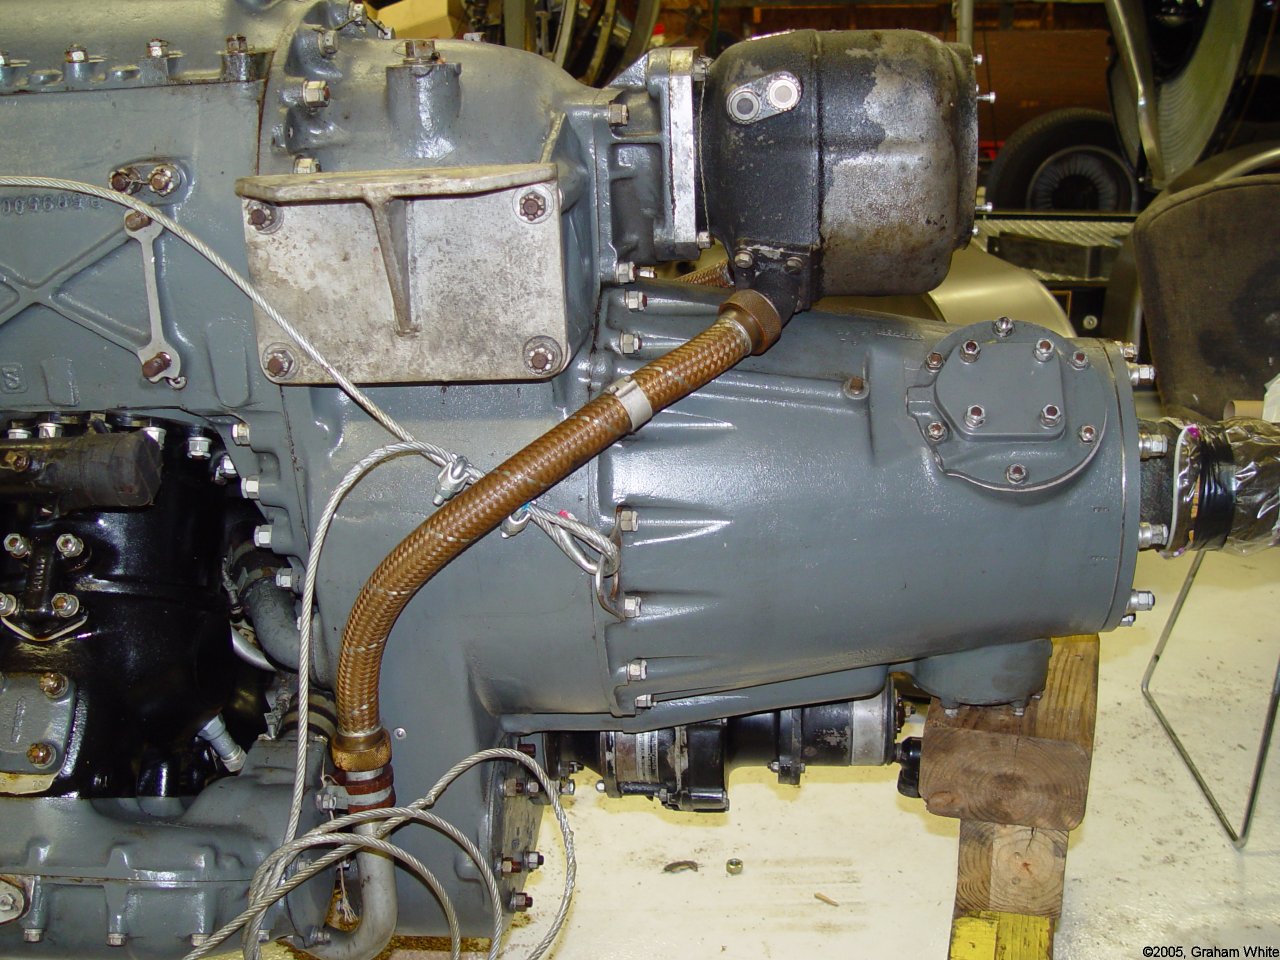
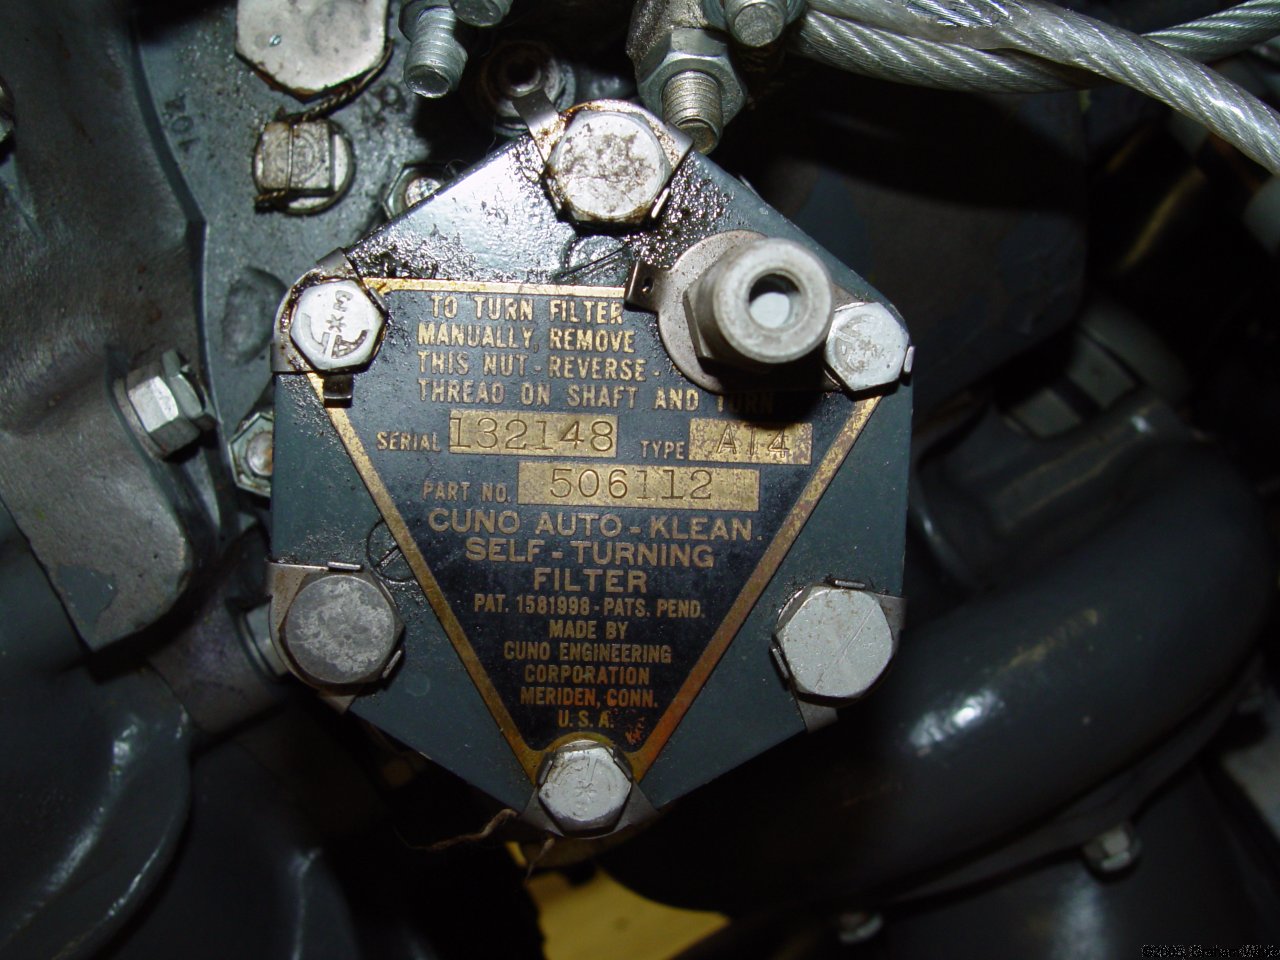
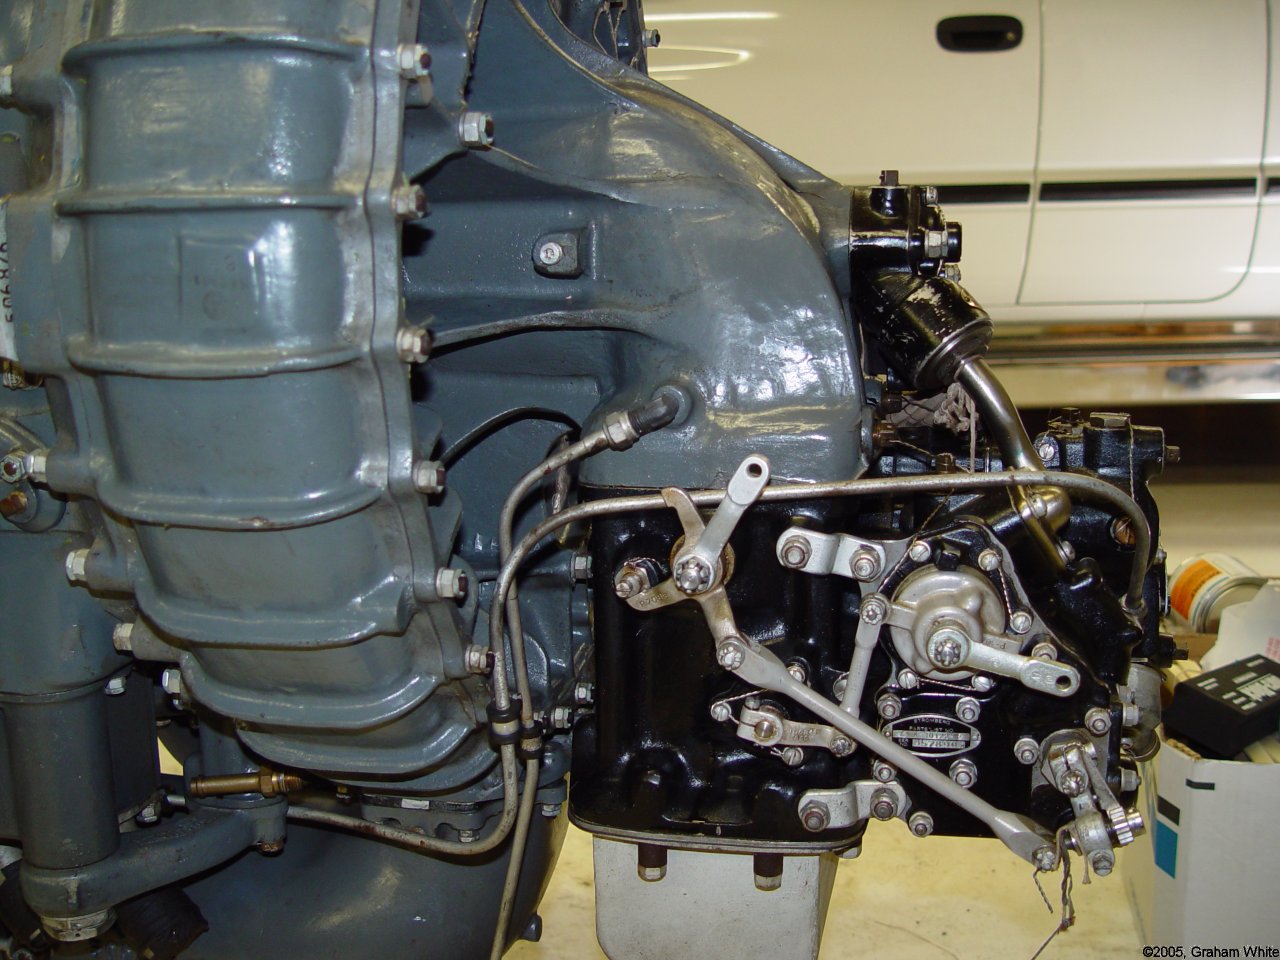
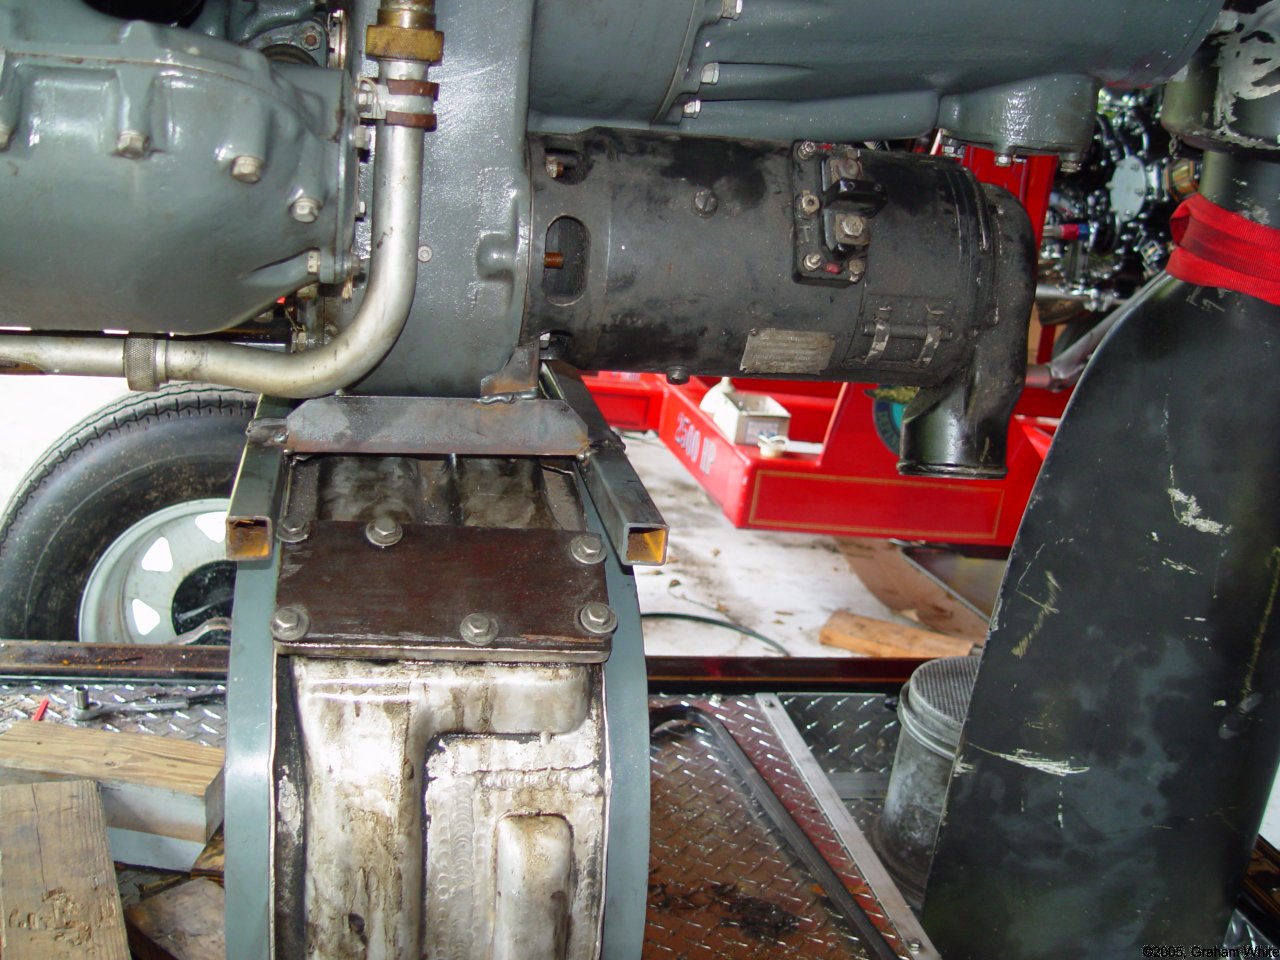
| Magneto Cover After Al Marcucci’s Expert and Miraculous Repair | With one cherry picker supporting the engine, another was used to test fit the mounts. | With one cherry picker supporting the engine, another was used to test fit the mounts. | Test Fit of the Engine on the Trailer | Note the tractor top links being put to good use as support struts | Note the size of the supercharger. It’s obvious that this engine was designed for high specific power. Too bad it didn’t have more displacement. | Rubber in Rorsion Suspension | Trial fit of the fenders. After fitting they were removed to allow access to the engine for final fitting of the oil cooling system and coolant system. | A 23E50 prop, shown here being unloaded, was picked up from Avon Park. | A 23E50 prop, shown here being unloaded, was picked up from Avon Park. |
|
|
|
|
|
|
|
|
|
|
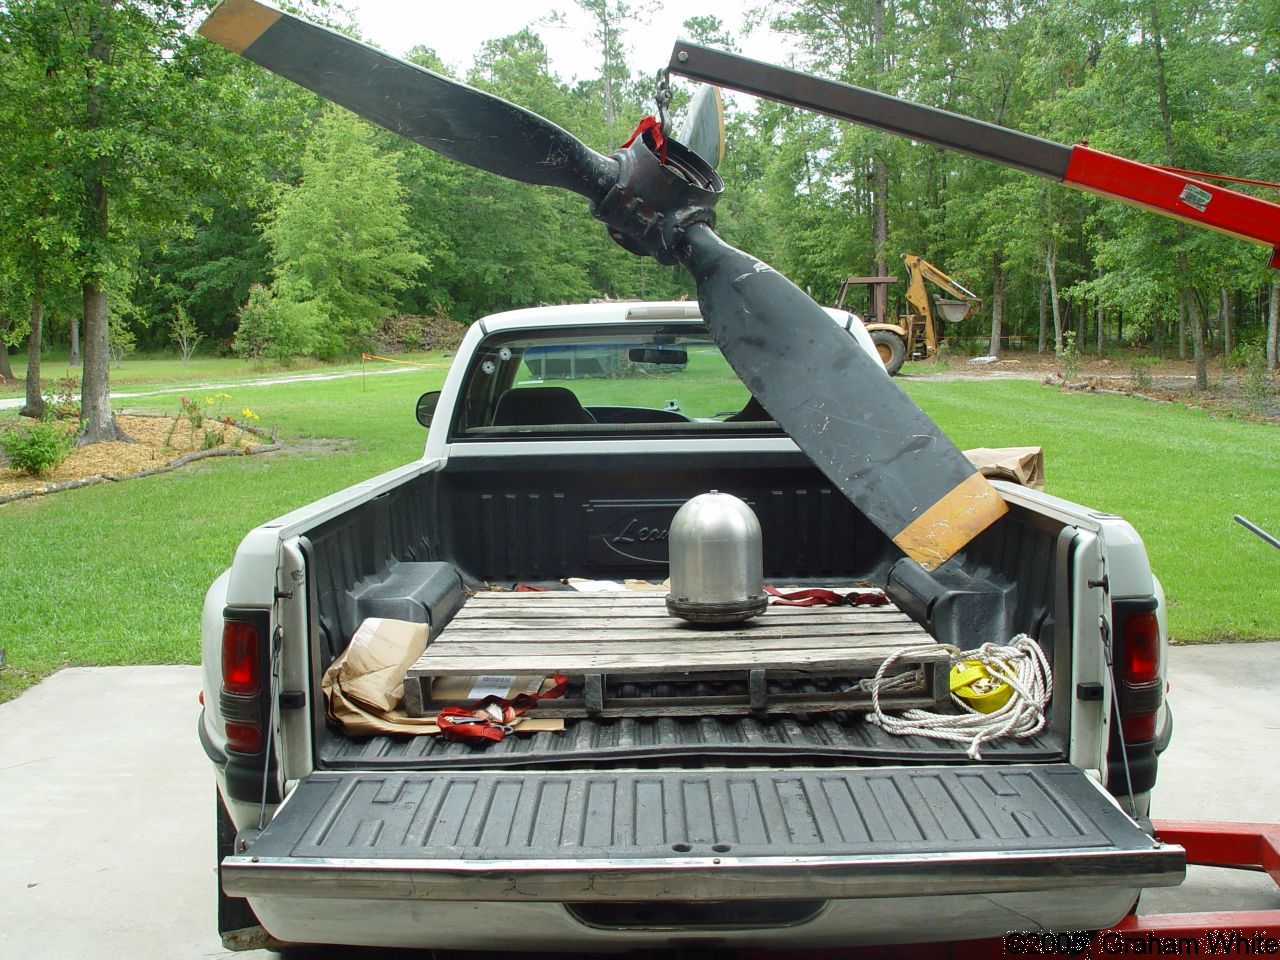
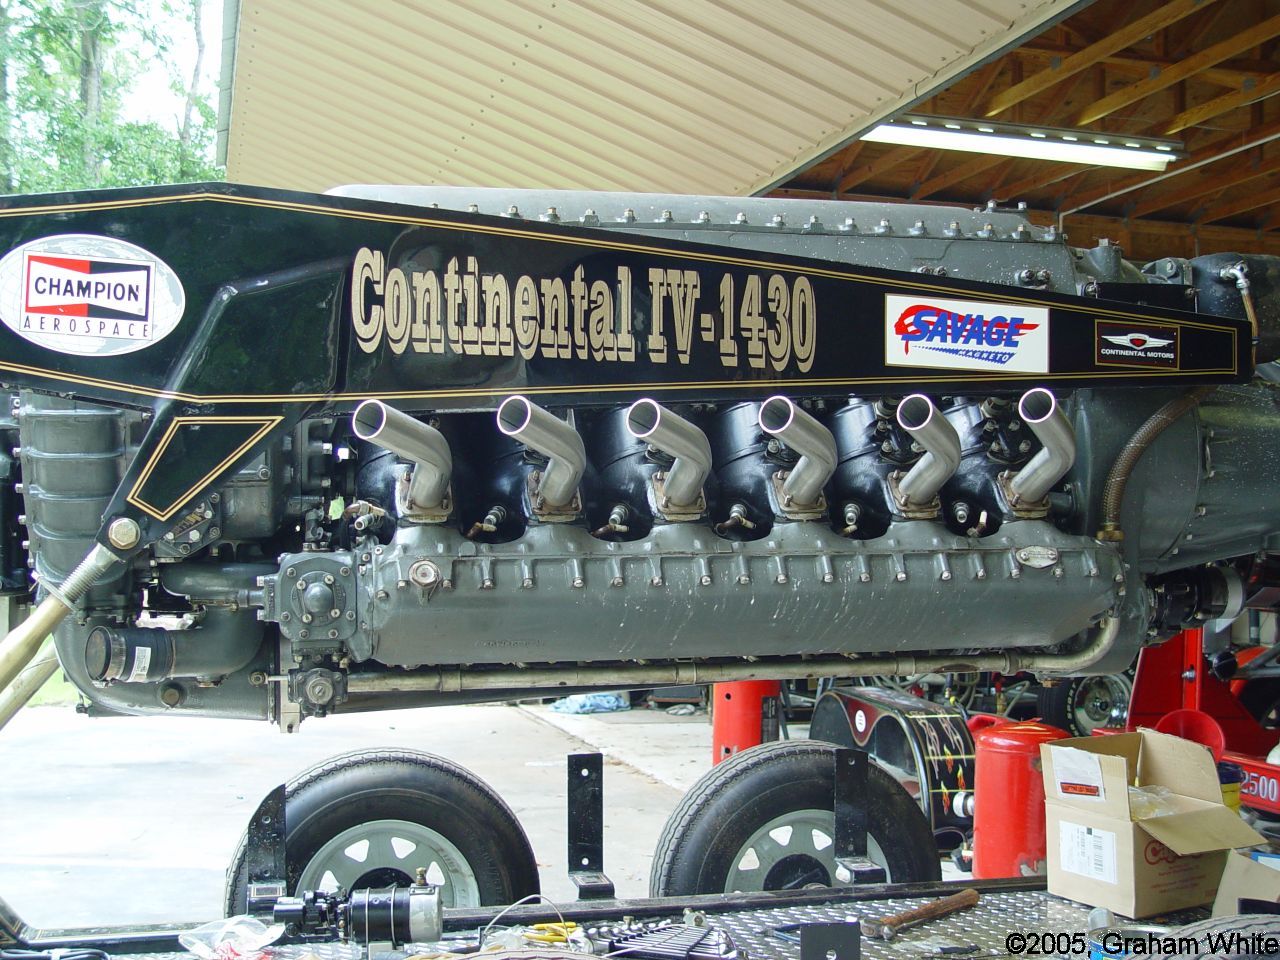
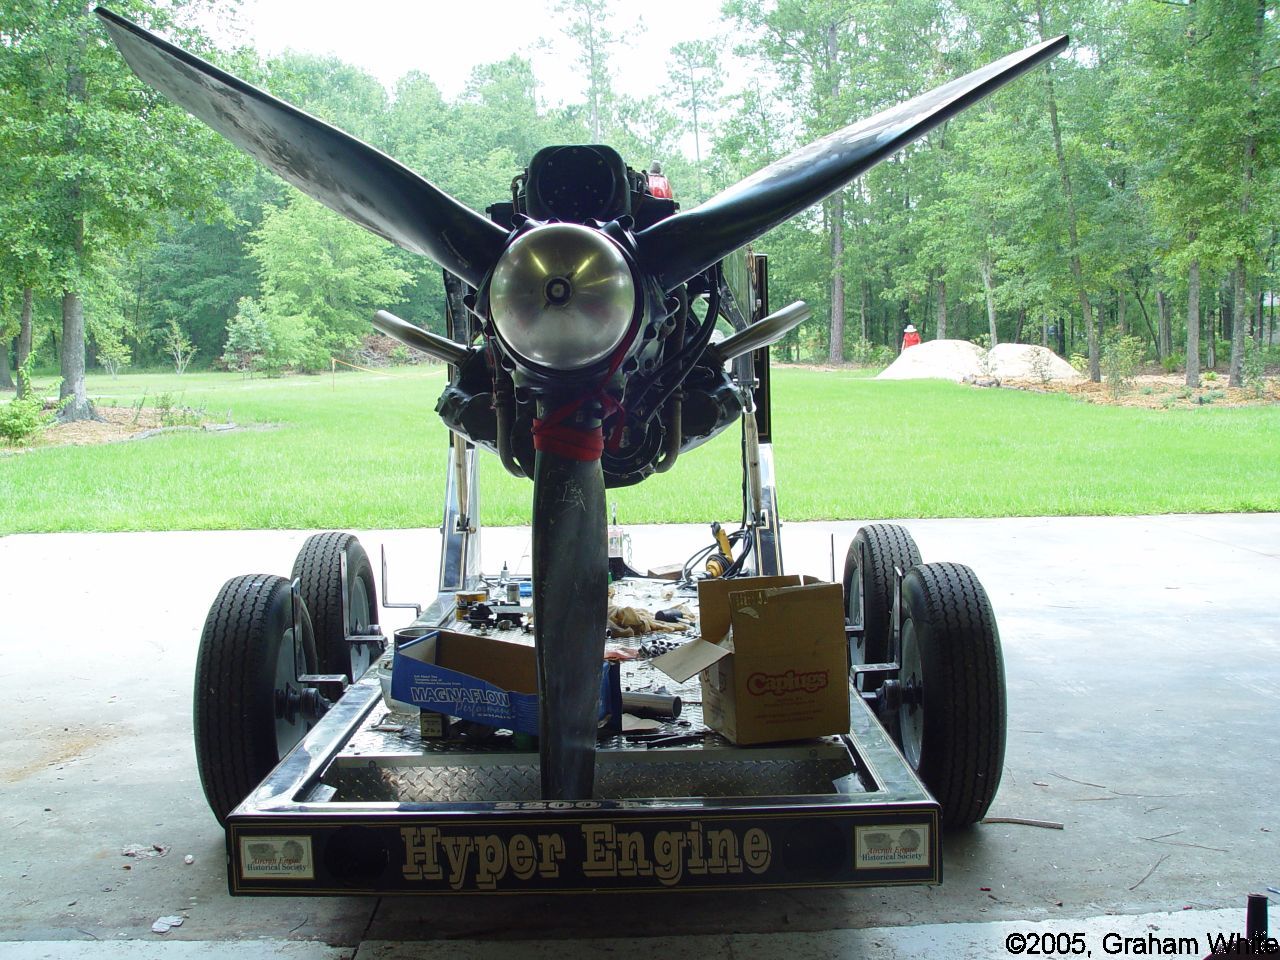
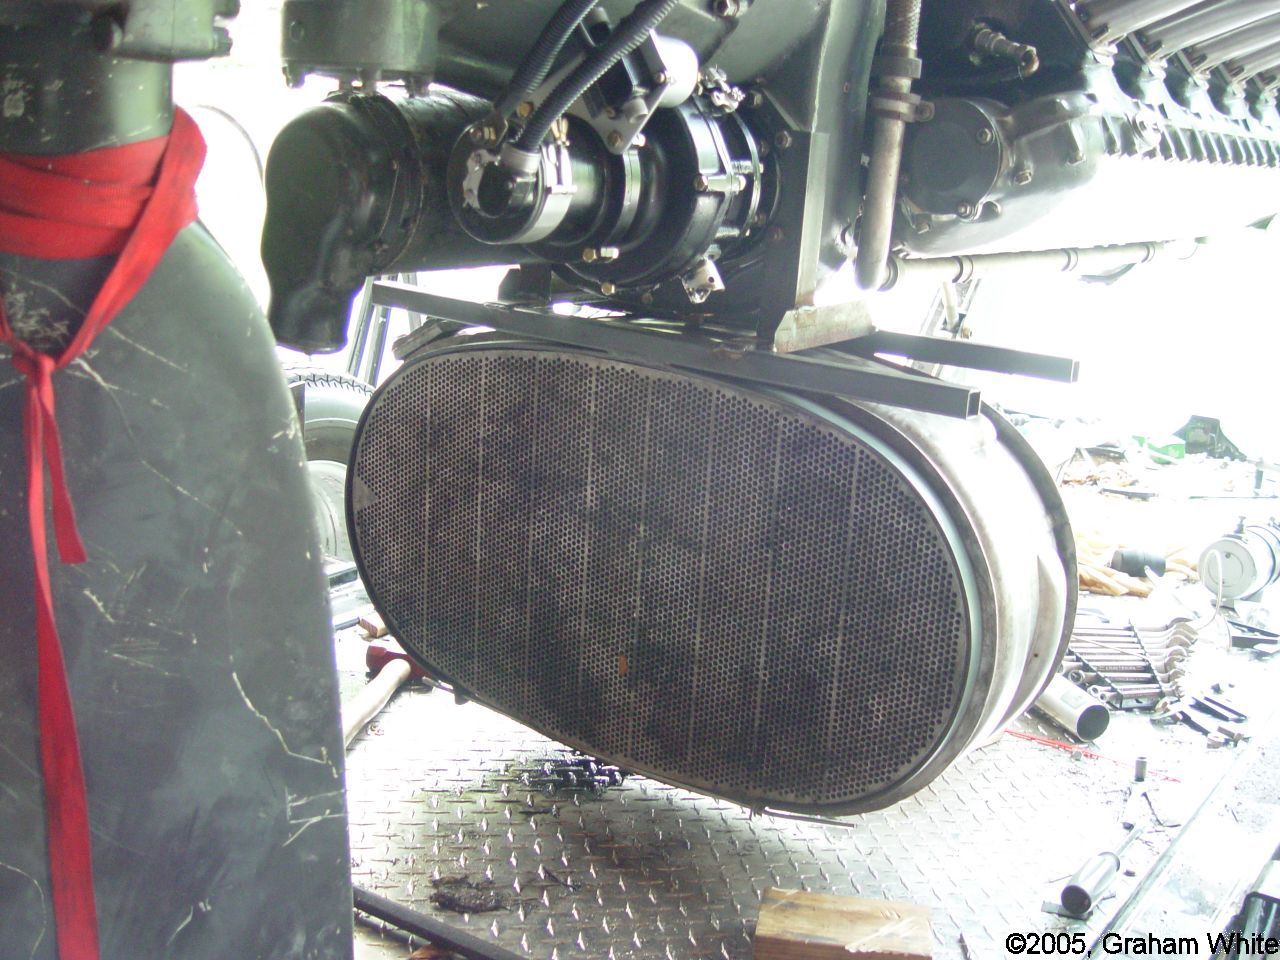
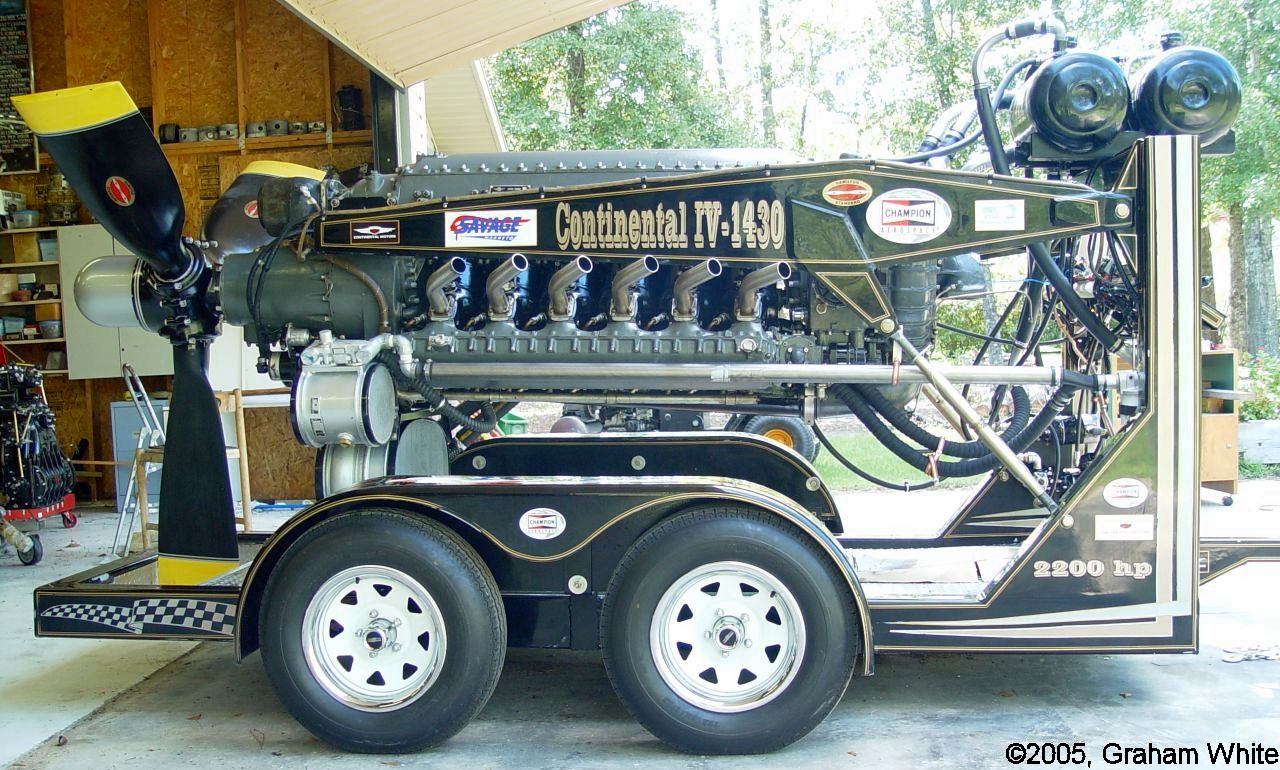
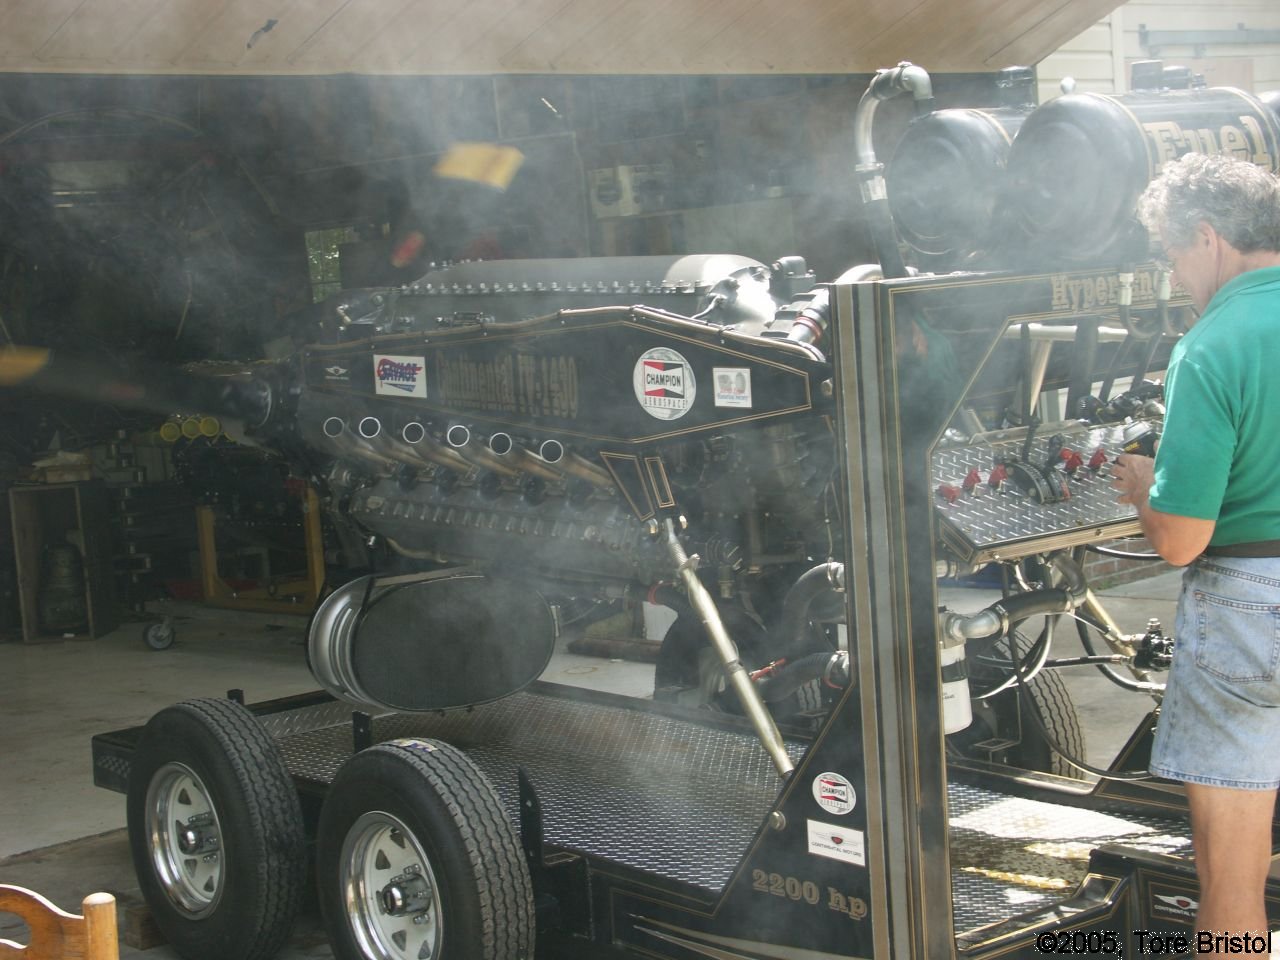
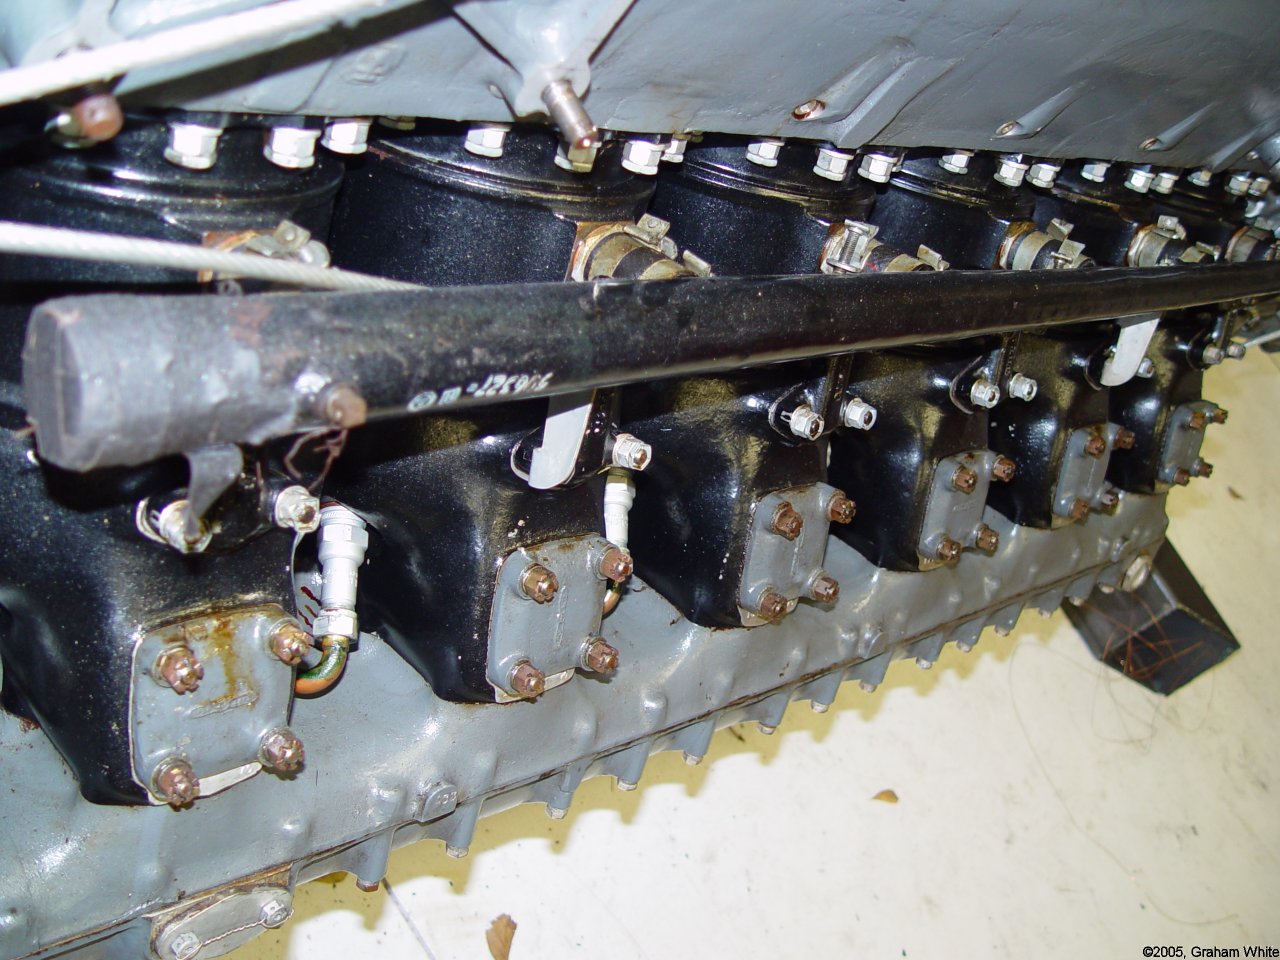
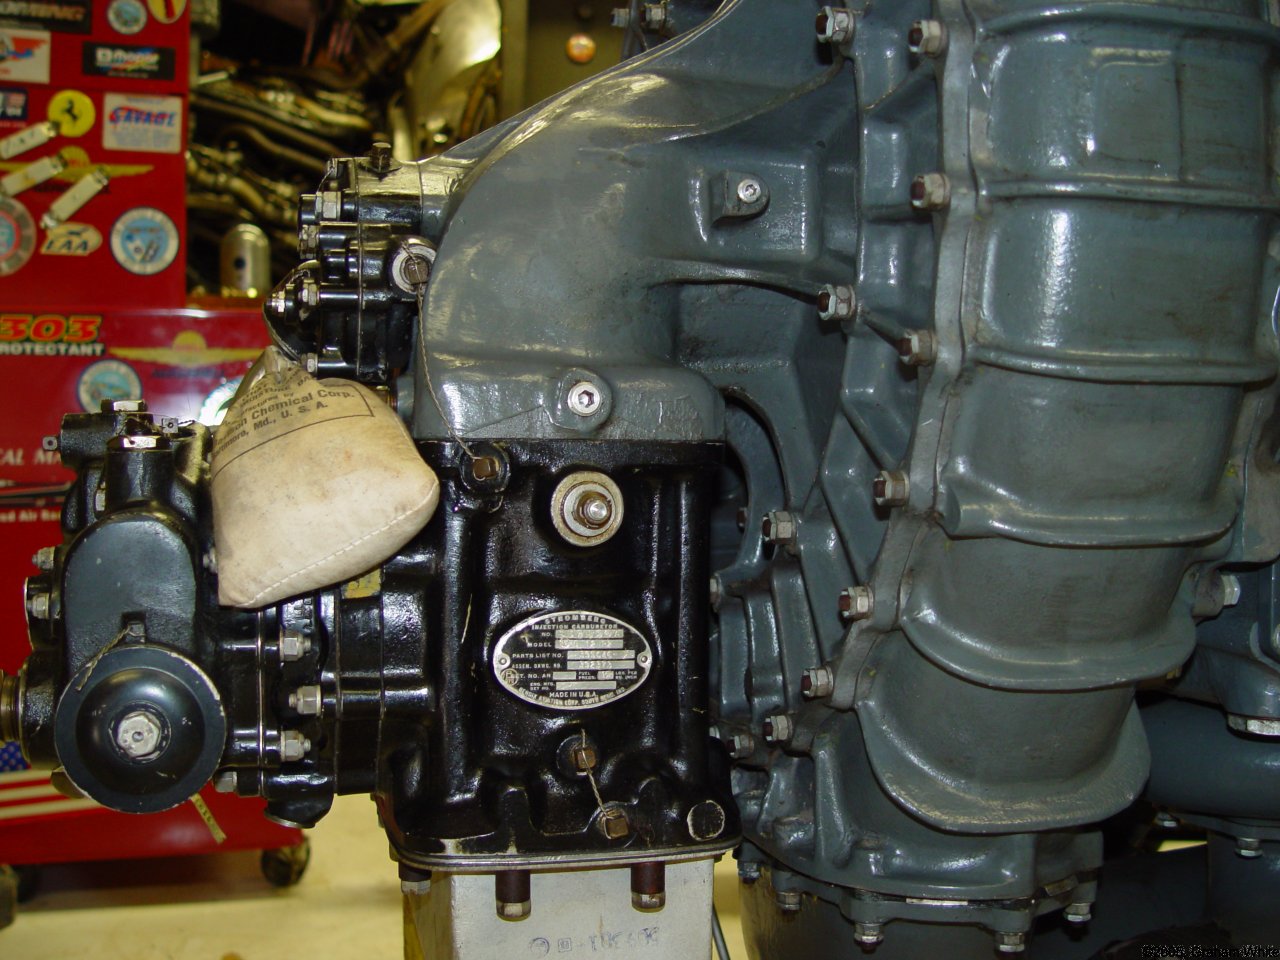
| Trial Fit of the Prop | Things are progressing — the exhaust system is in place. | DC-6 Oil Cooler Converted to a Radiator and a Convair oil Cooler | Control panel almost done. DC-3 throttle quadrant, WWII gages and guarded switches. | Front View. Note the "reverse" pitch of the prop to accommodate the left hand rotation. | Trial fit of the ill fated DC-7 oil cooler put into service as a radiator. Numerous leaks squelched this idea after much work. | Fenders in Place | Close Up of a Cylinder and Exhaust Stack | Early attempt at running. Note the two auto batteries hooked up in series to give the necessary 24 volts. | Smoky start as oil is preservatively burned off. A total of five gallons of preservative were drained out of the engine prior to starting. |
 |
 |
 |
 |
 |
 |
 |
 |
 |
 |
 |
 |
 |
 |
 |
 |
 |
 |
 |
 |
 |
 |
 |
 |
 |
 |
 |
 |
 |
 |
Send mail to
![]() with questions or comments about this web site.
with questions or comments about this web site.
![]()